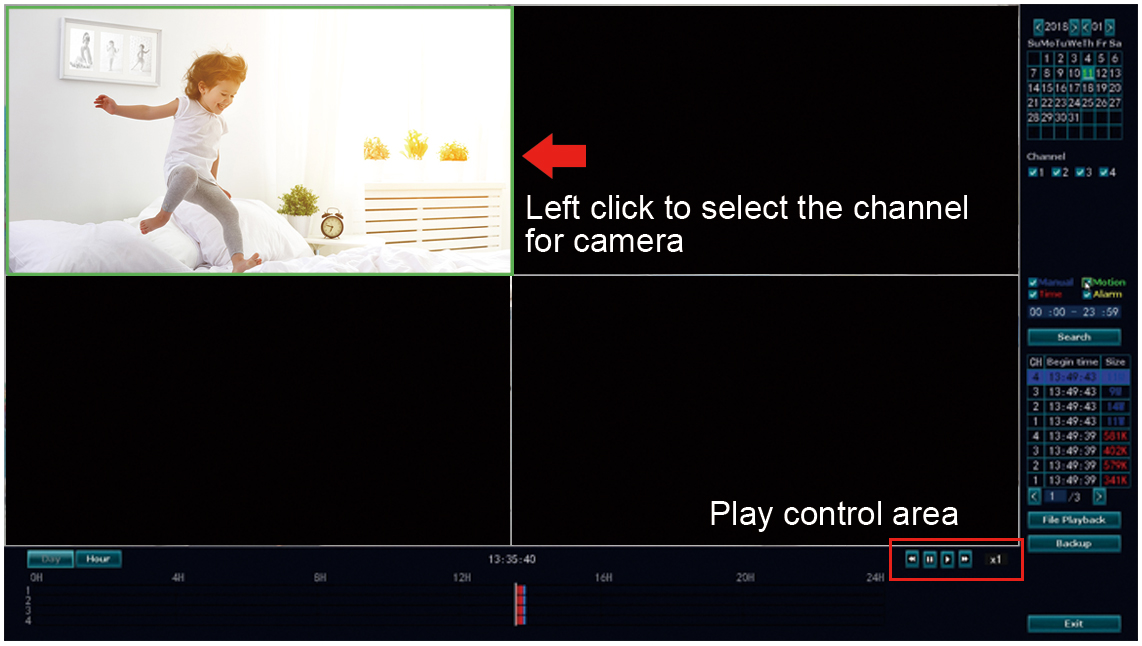
8. How to Set Motion Detection Alarm / HumanDetect?
●Motion Detection: When an object is detected in the selected screen, the system will trigger and output an alarm.
●HumanDetect: Only be triggered when human body show up in camera range, reduce 90% false alarms.
Right click mouse on the screen, left click System setup on the Menu Bar, enter the System setup interface. Then operate in the following order:
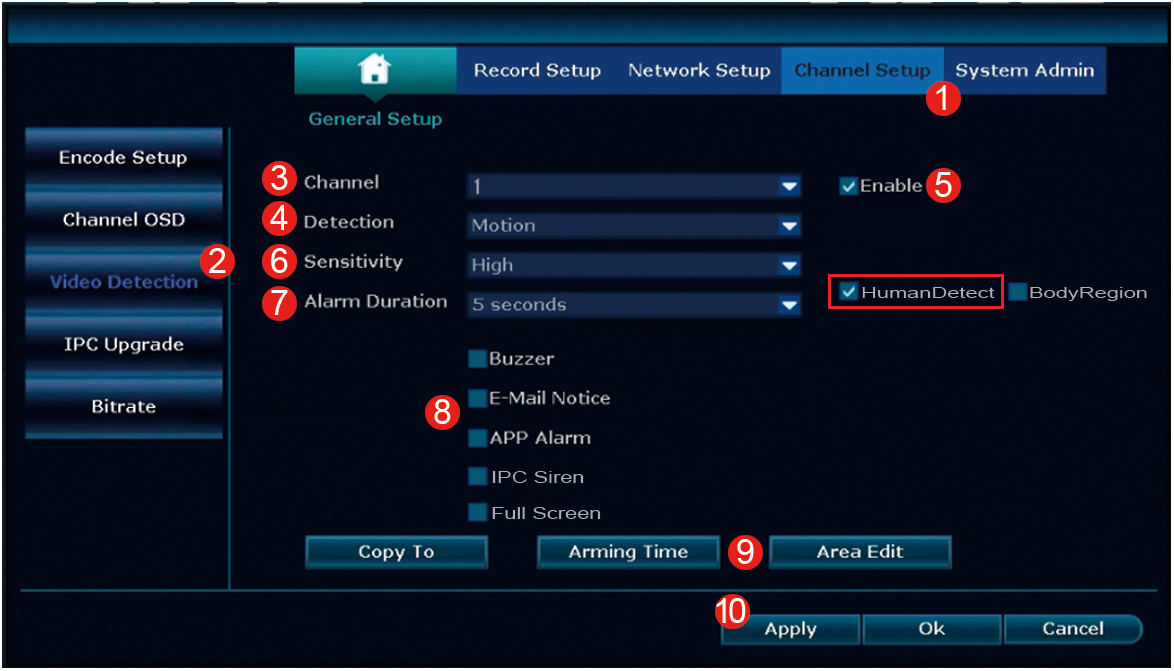
1. Select Channel Setup
2. Select Video detection
3. Select Channel
4. Select Motion as Detection type
5. Check the Enable checkbox
6. Set Sensitivity
7. Select the Alarm duration period
8. Check the Alarm methods
9. Set Arming time and Area edit
10. Left click Apply
Alarm include 5 methods:
Buzzer: Check “Buzzer”, the NVR will beep whenever motion is detected.
E-mail Notice: Check “E-mail Notice”, you will be notified by E-mail with snapshots whenever motion is detected. Refer to page 25 how to setup email alarm push.
APP Alarm: Check “APP Alarm”, you will be notified by APP push whenever motion is detected. Refer to page 24 how to setup APP alarm push.
IPC Siren: Check “IPC Siren”, you will hear siren alarm from camera, whenever motion is detected. (Only available for siren alarm type camera, ASIN:B07952BPTM)
Full Screen: Check “Full Screen”, the iamge will become full screen whenever motion is detected.
If you want to copy the similar settings to multiple channels, left click Copy to and check the channels which you would like to copy the information.
Arming Time: You can set the time of motion detection.
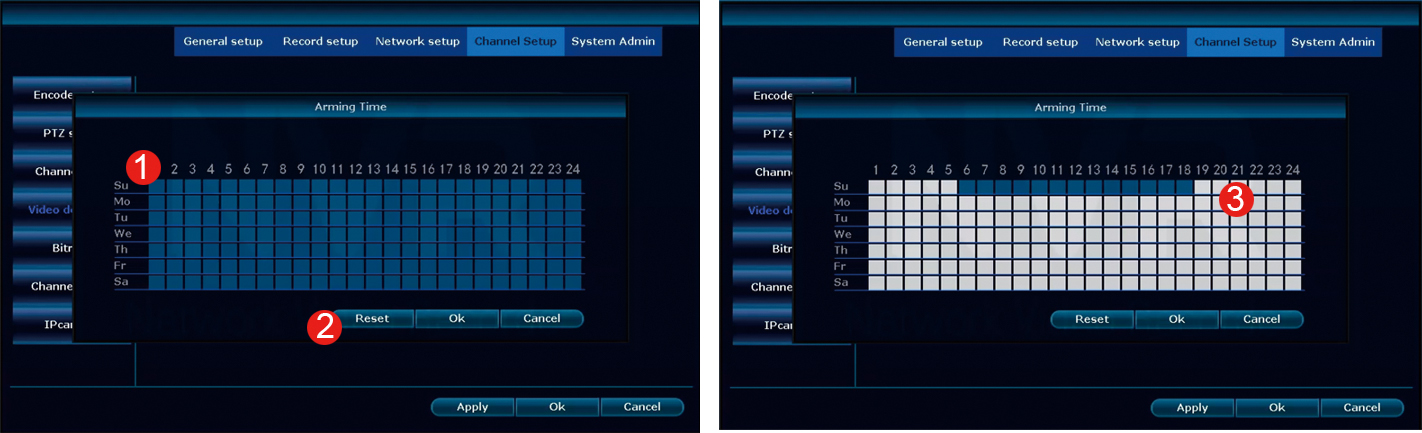
1. Default is all selected, 24x7 continuous motion detection.
2. You can click Reset to reset and exclude some time from motion detection.
3. Blue boxes denote time that will detect motion, whereas uncolored boxes denote that will not detect motion.
Area edit: You can set the area of motion detection.
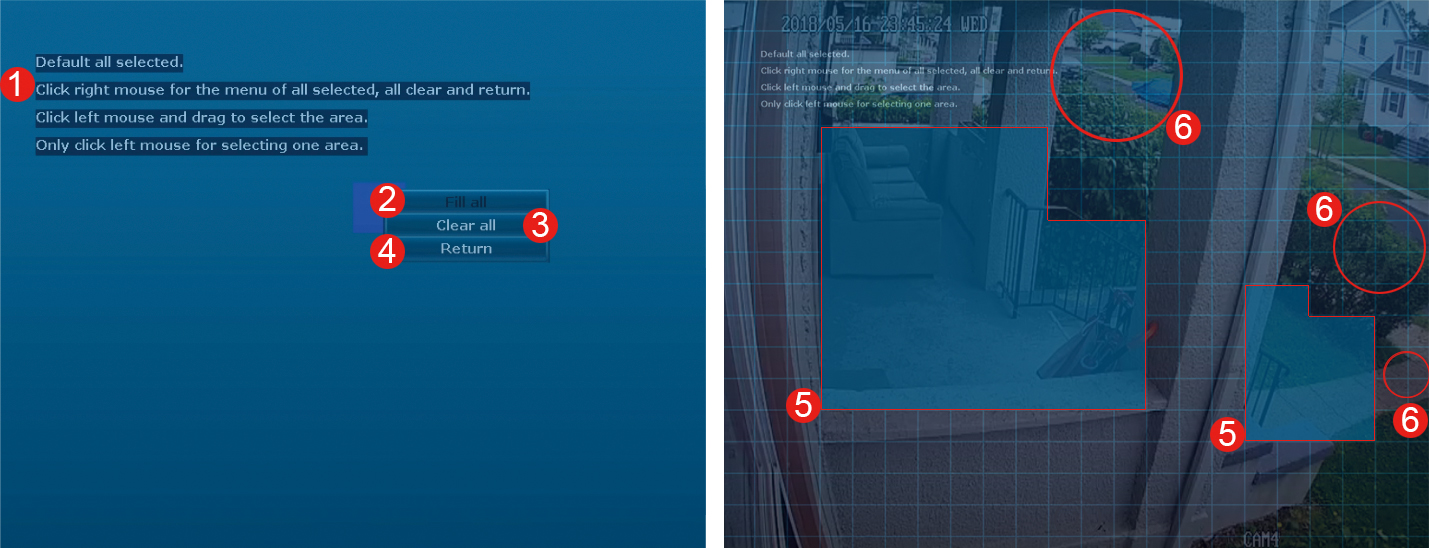
1. Instructions: A series of instructions on how to set the motion detection area. Blue boxes denote areas that will detect motion whereas uncolored boxes denote areas that will not detect motion. When finished, right click to return to the menu and click Apply to save changes.
2. Fill all: Selects the entire screen for motion detection.
3. Clear All: Deselects the entire screen and prevents motion alerts/recordings from being triggered.
4. Return: Returns to the Video detection submenu.
5. Left click to select the area you need for motion detection(First click Clear all to clear all areas).
6. Avoid some area for false triggers, such as a tree, shrub or foliage that is blown by the wind, flying insect, people moving along sidewalks or streets that are close to your home, vehicles moving in the background or streets, movement or light reflected off smooth surface like glass, and frequent light changes. Suggest using in simple indoor environment.

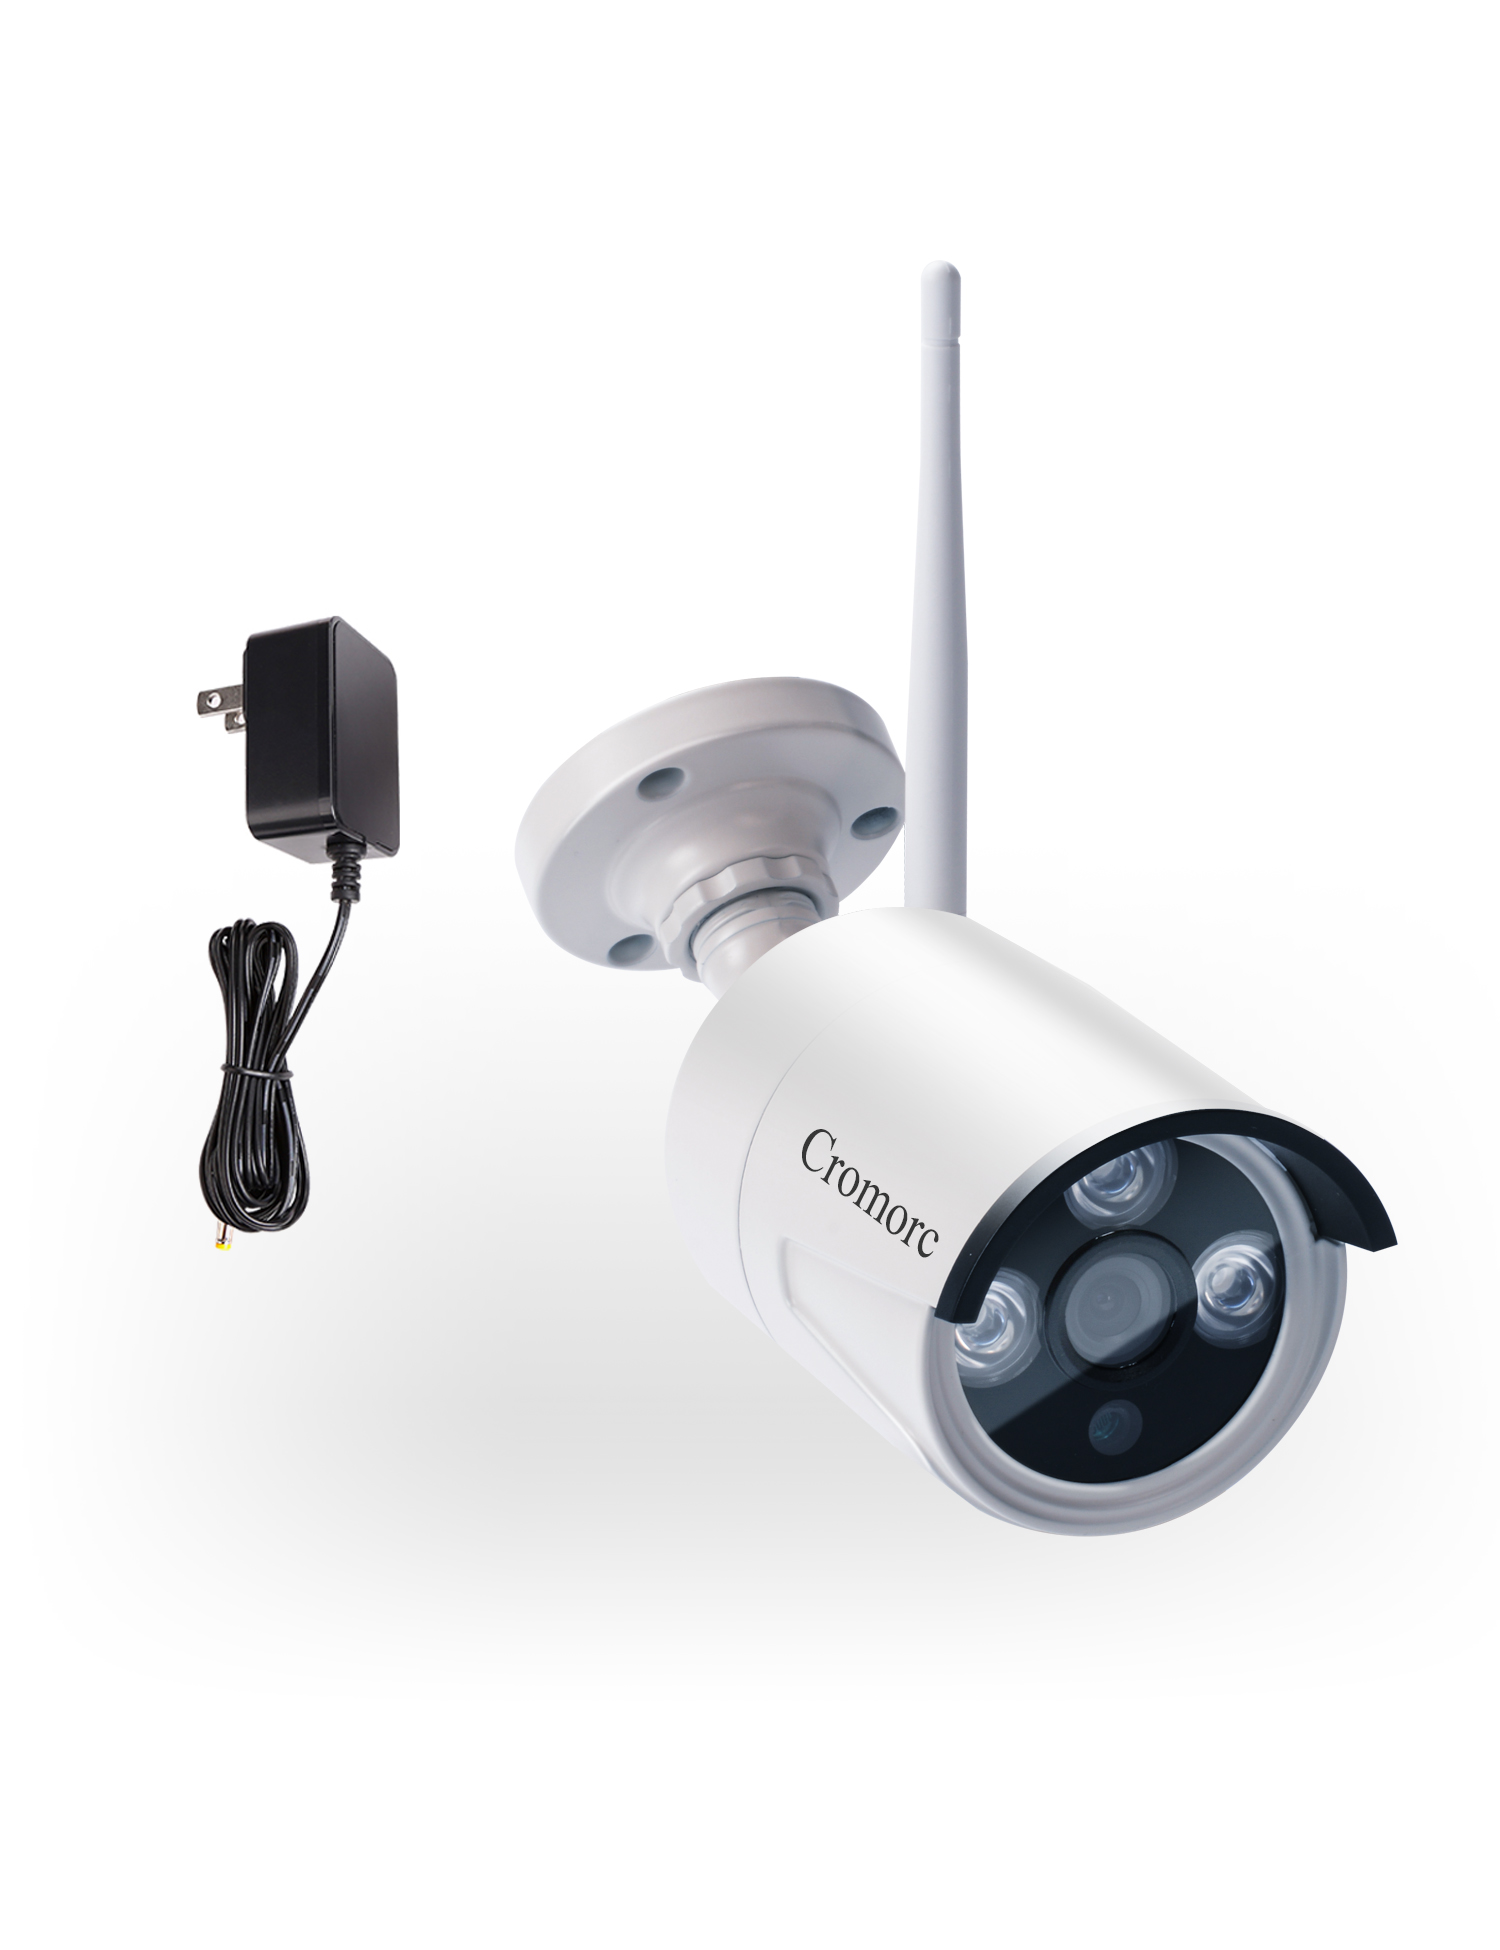
![[8CH,Expandable] All in one with 10.1](/uploads/image/3E2-2-01.jpg) [8CH,Expandable] All in one with 10.1" Monitor Wireless Security Camera System, Cromorc Home Business CCTV Surveillance 1080P NVR, 4pcs 3MP Indoor Outdoor Night Vision One-Way Audio Camera,1TB HDD
[8CH,Expandable] All in one with 10.1" Monitor Wireless Security Camera System, Cromorc Home Business CCTV Surveillance 1080P NVR, 4pcs 3MP Indoor Outdoor Night Vision One-Way Audio Camera,1TB HDD
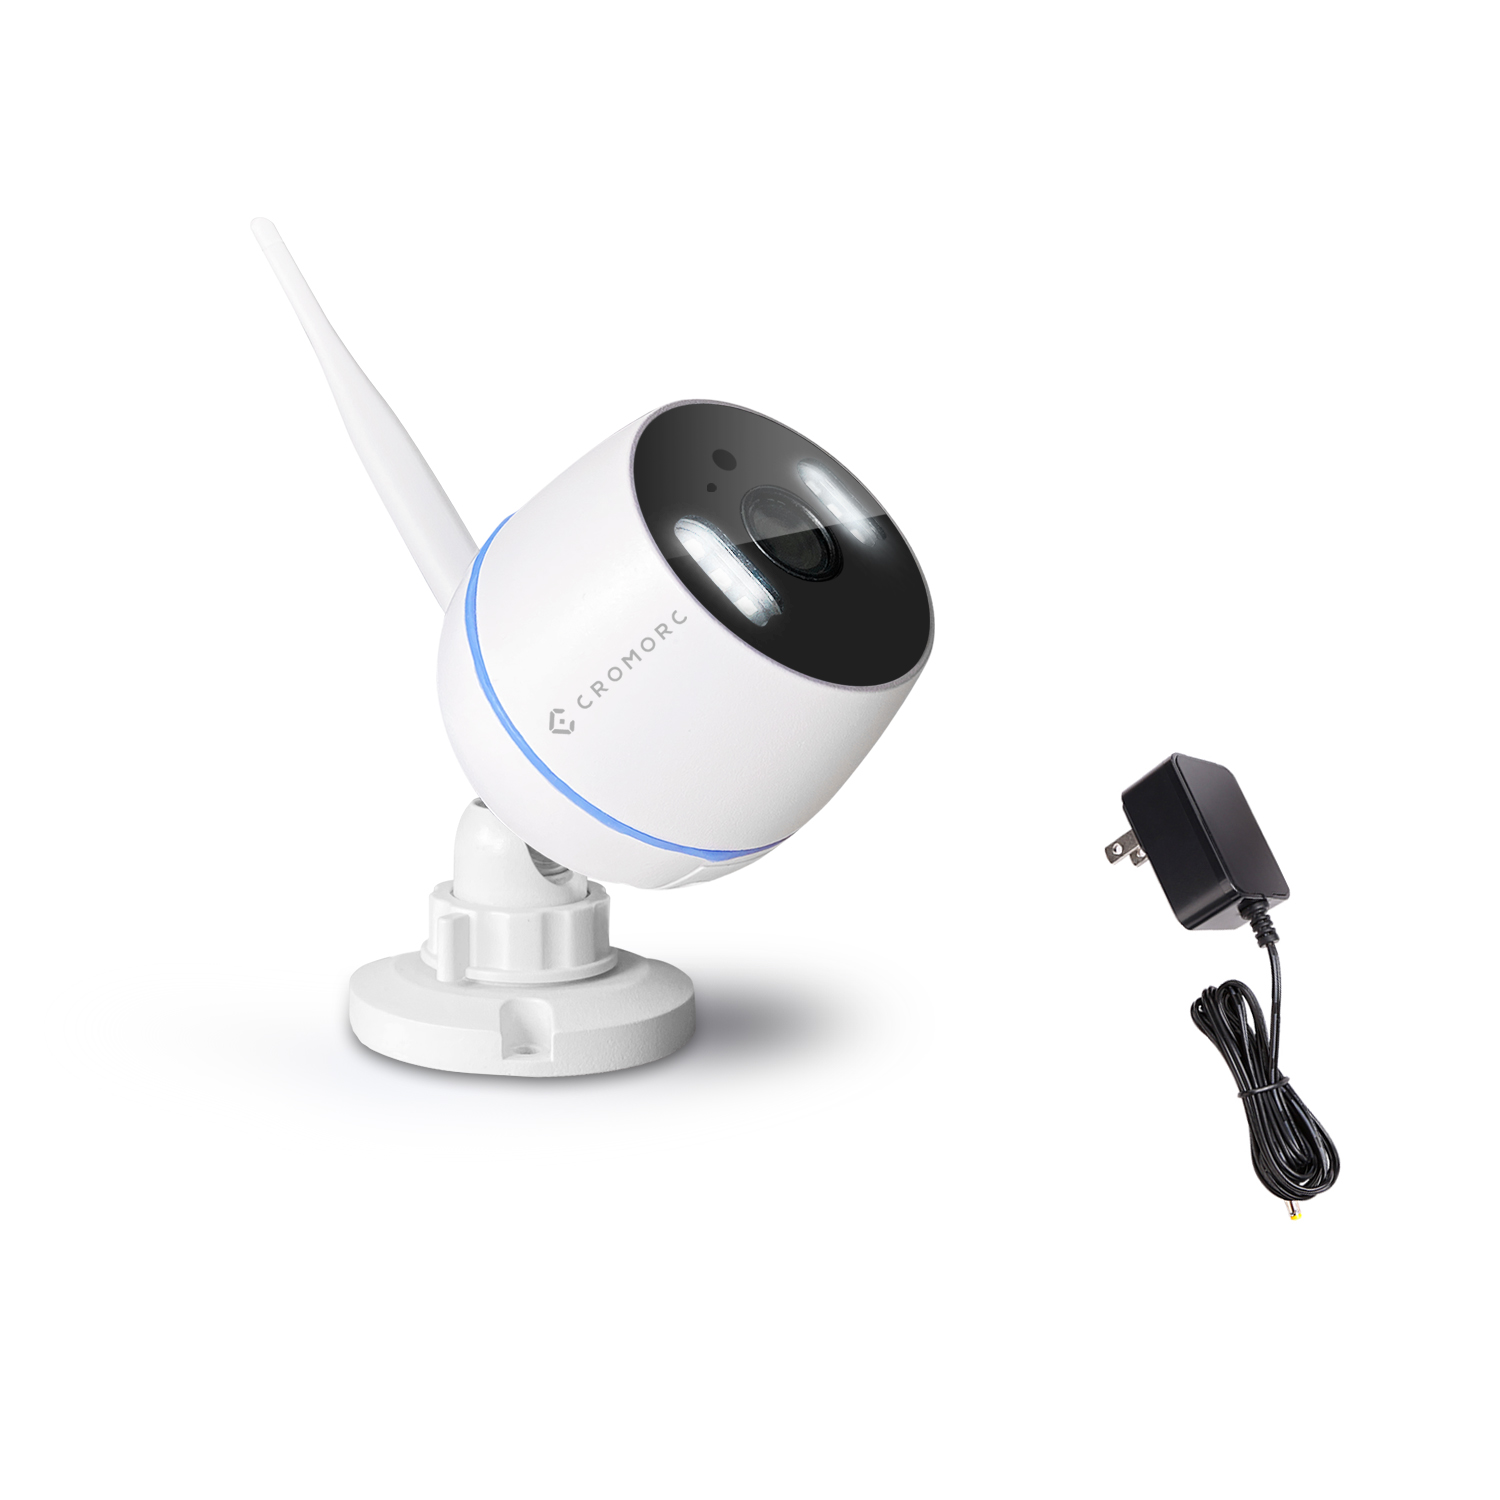
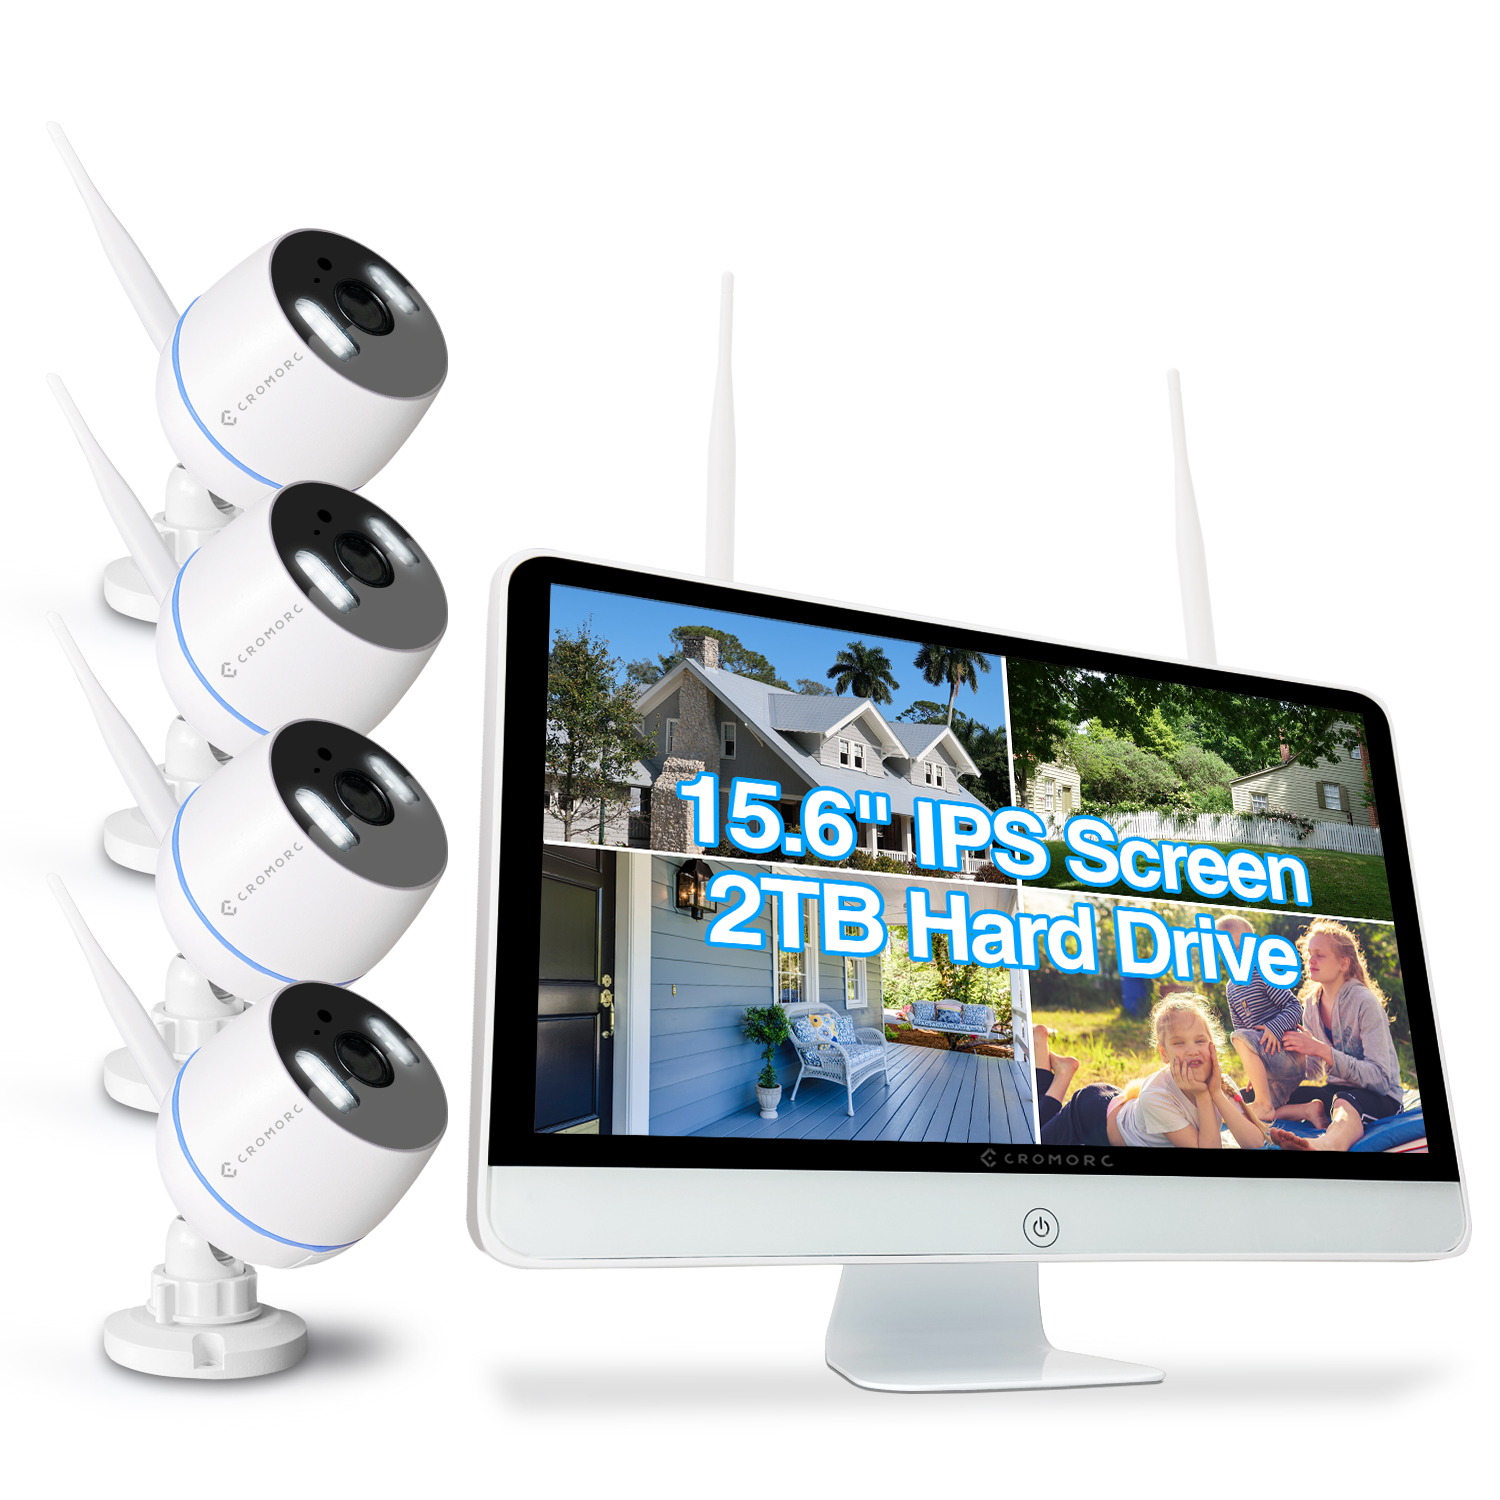 Cromorc All-in-one Wireless Security Camera System with 15.6" IPS Monitor, AI Human Detection, Floodlight,Siren Alarm, 2-Way Audio,4PCS 3MP Camera,Expandable 8CH NVR,Home Business Surveillance,2TB HDD
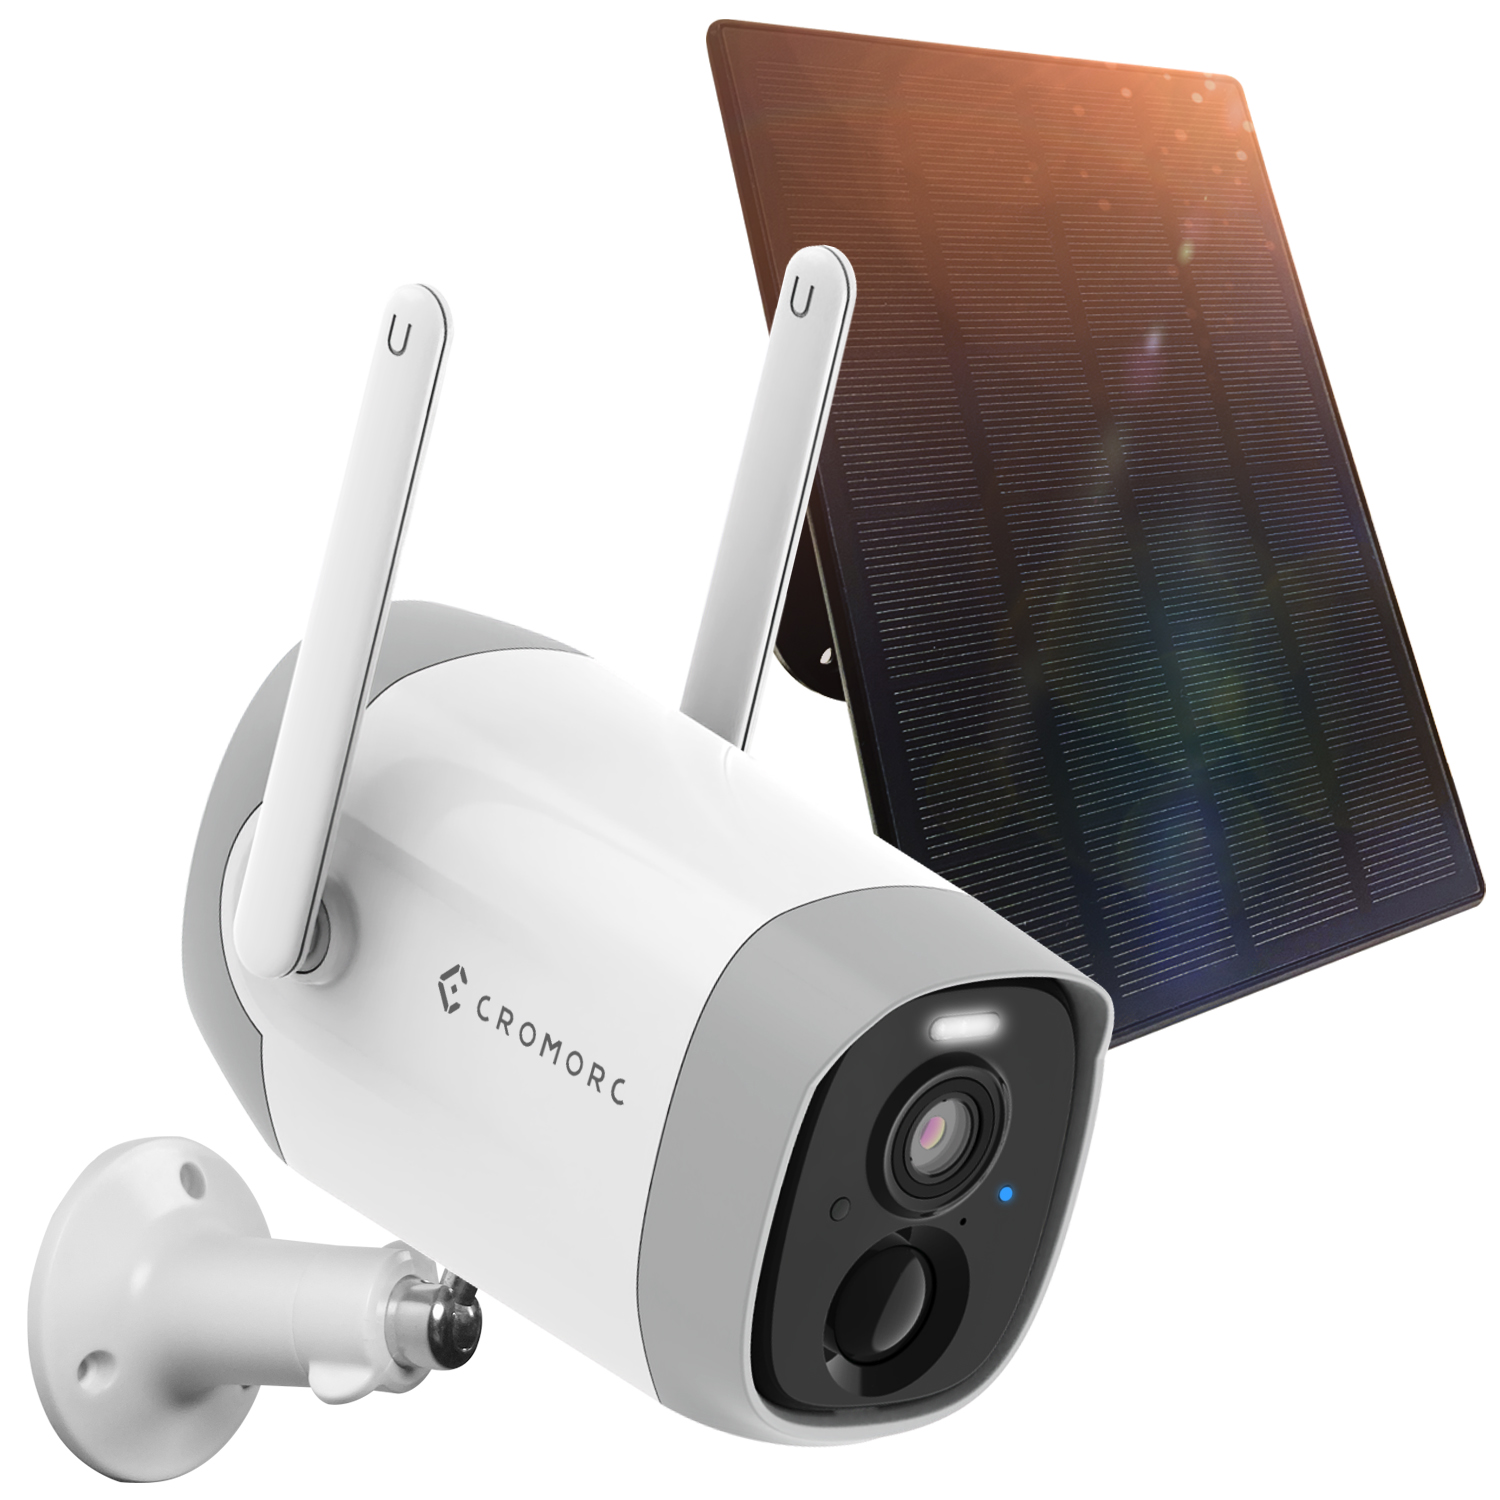
 Cromroc All-in-one Wireless Security Camera System with 12" Monitor, AI Human Detection, Floodlight,Siren Alarm, 2-Way Audio, 4PCS 3MP Camera, Expandable 8CH NVR,Home Business Surveillance, 1TB HDD
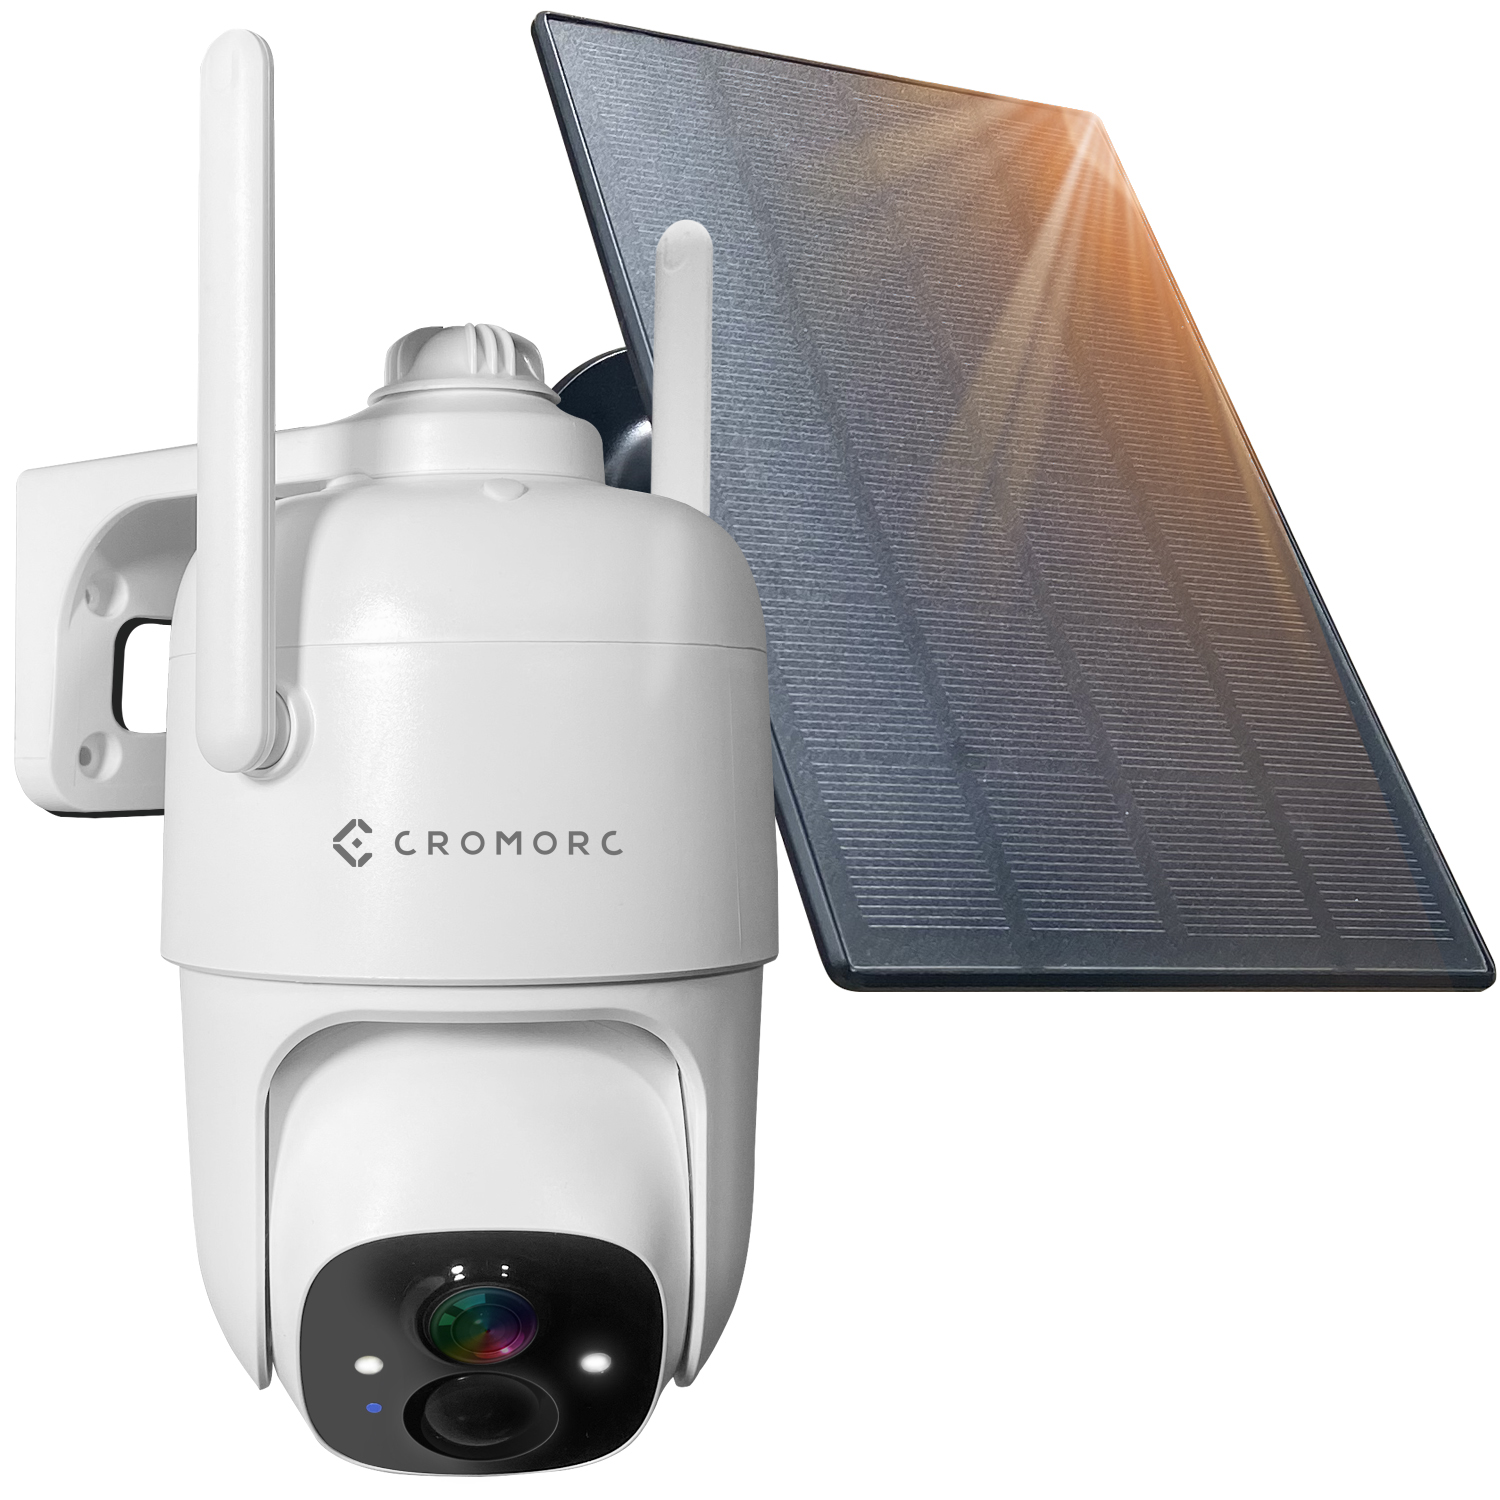
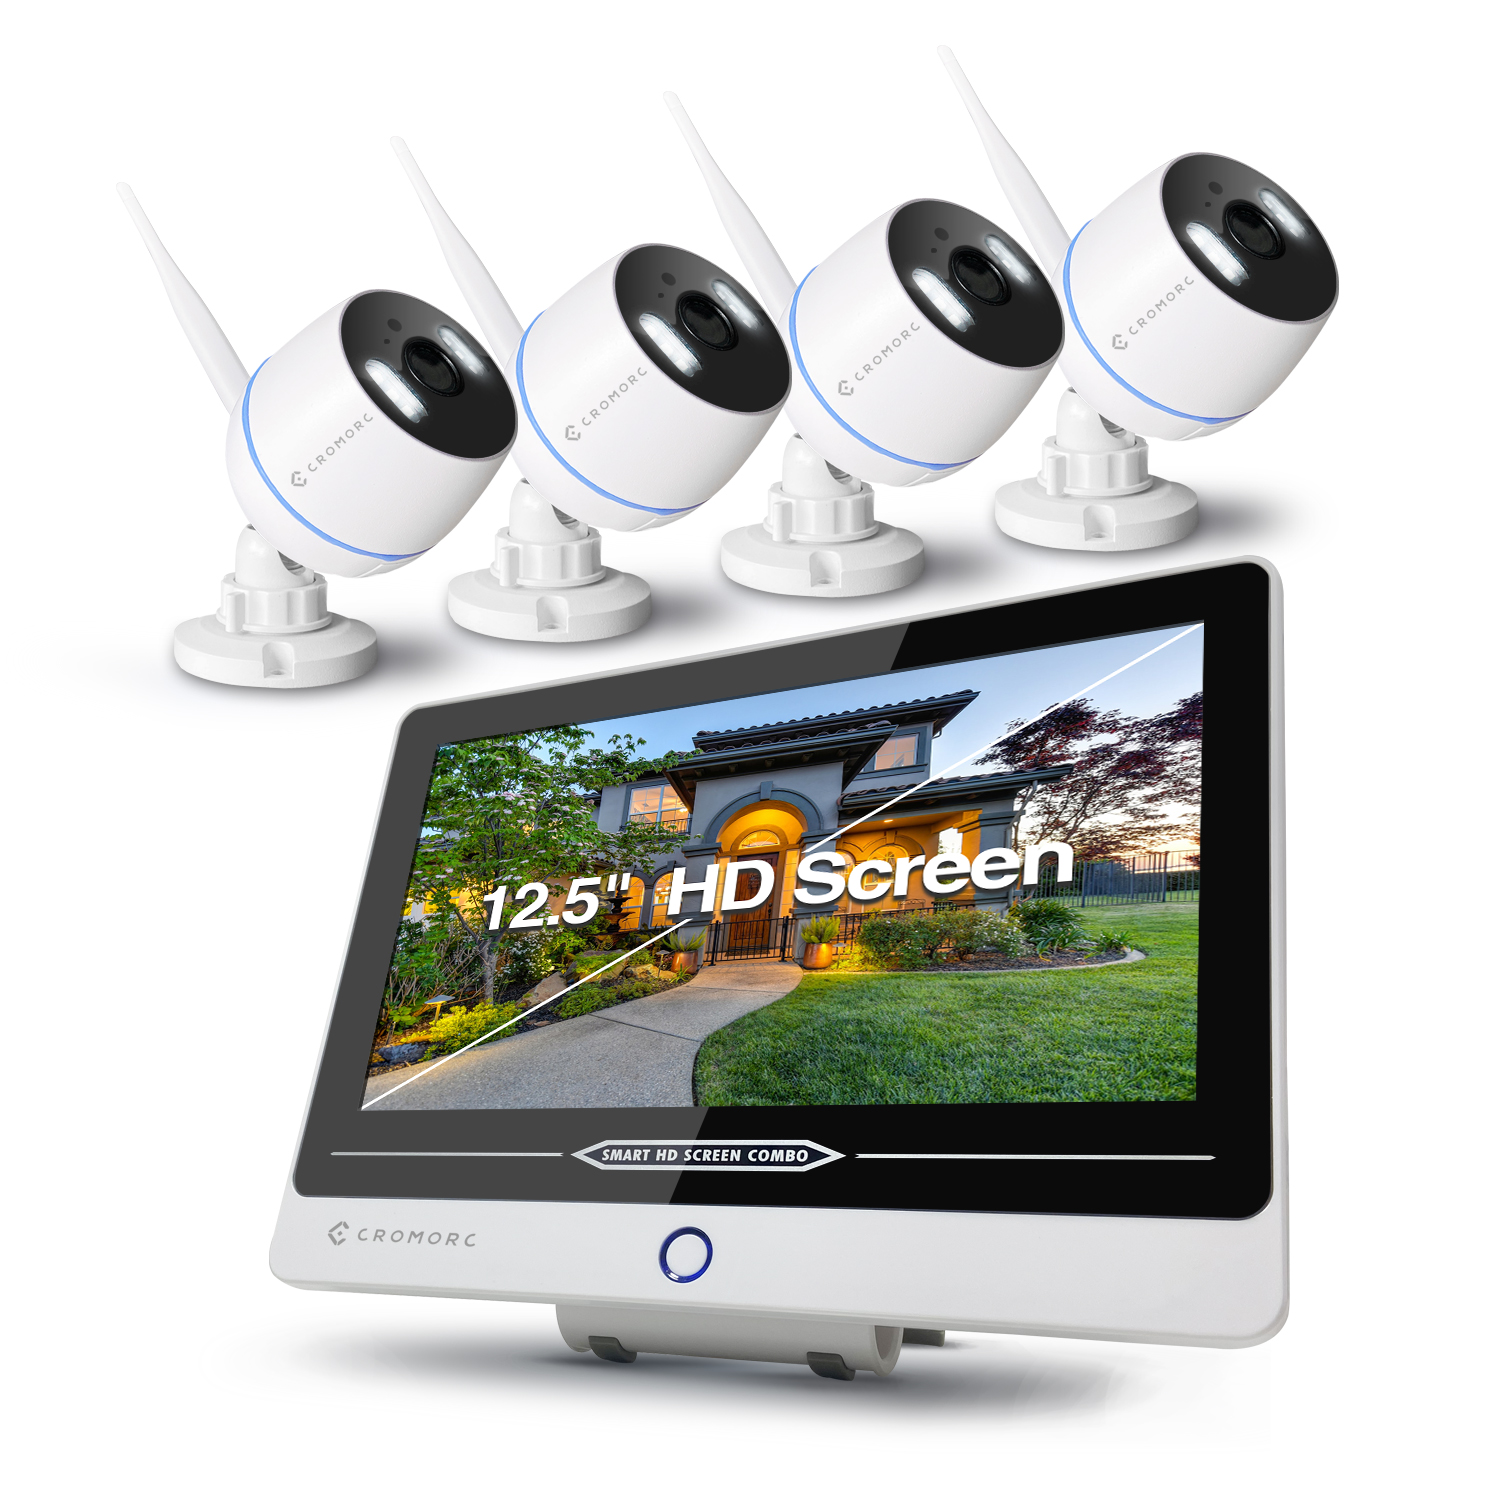
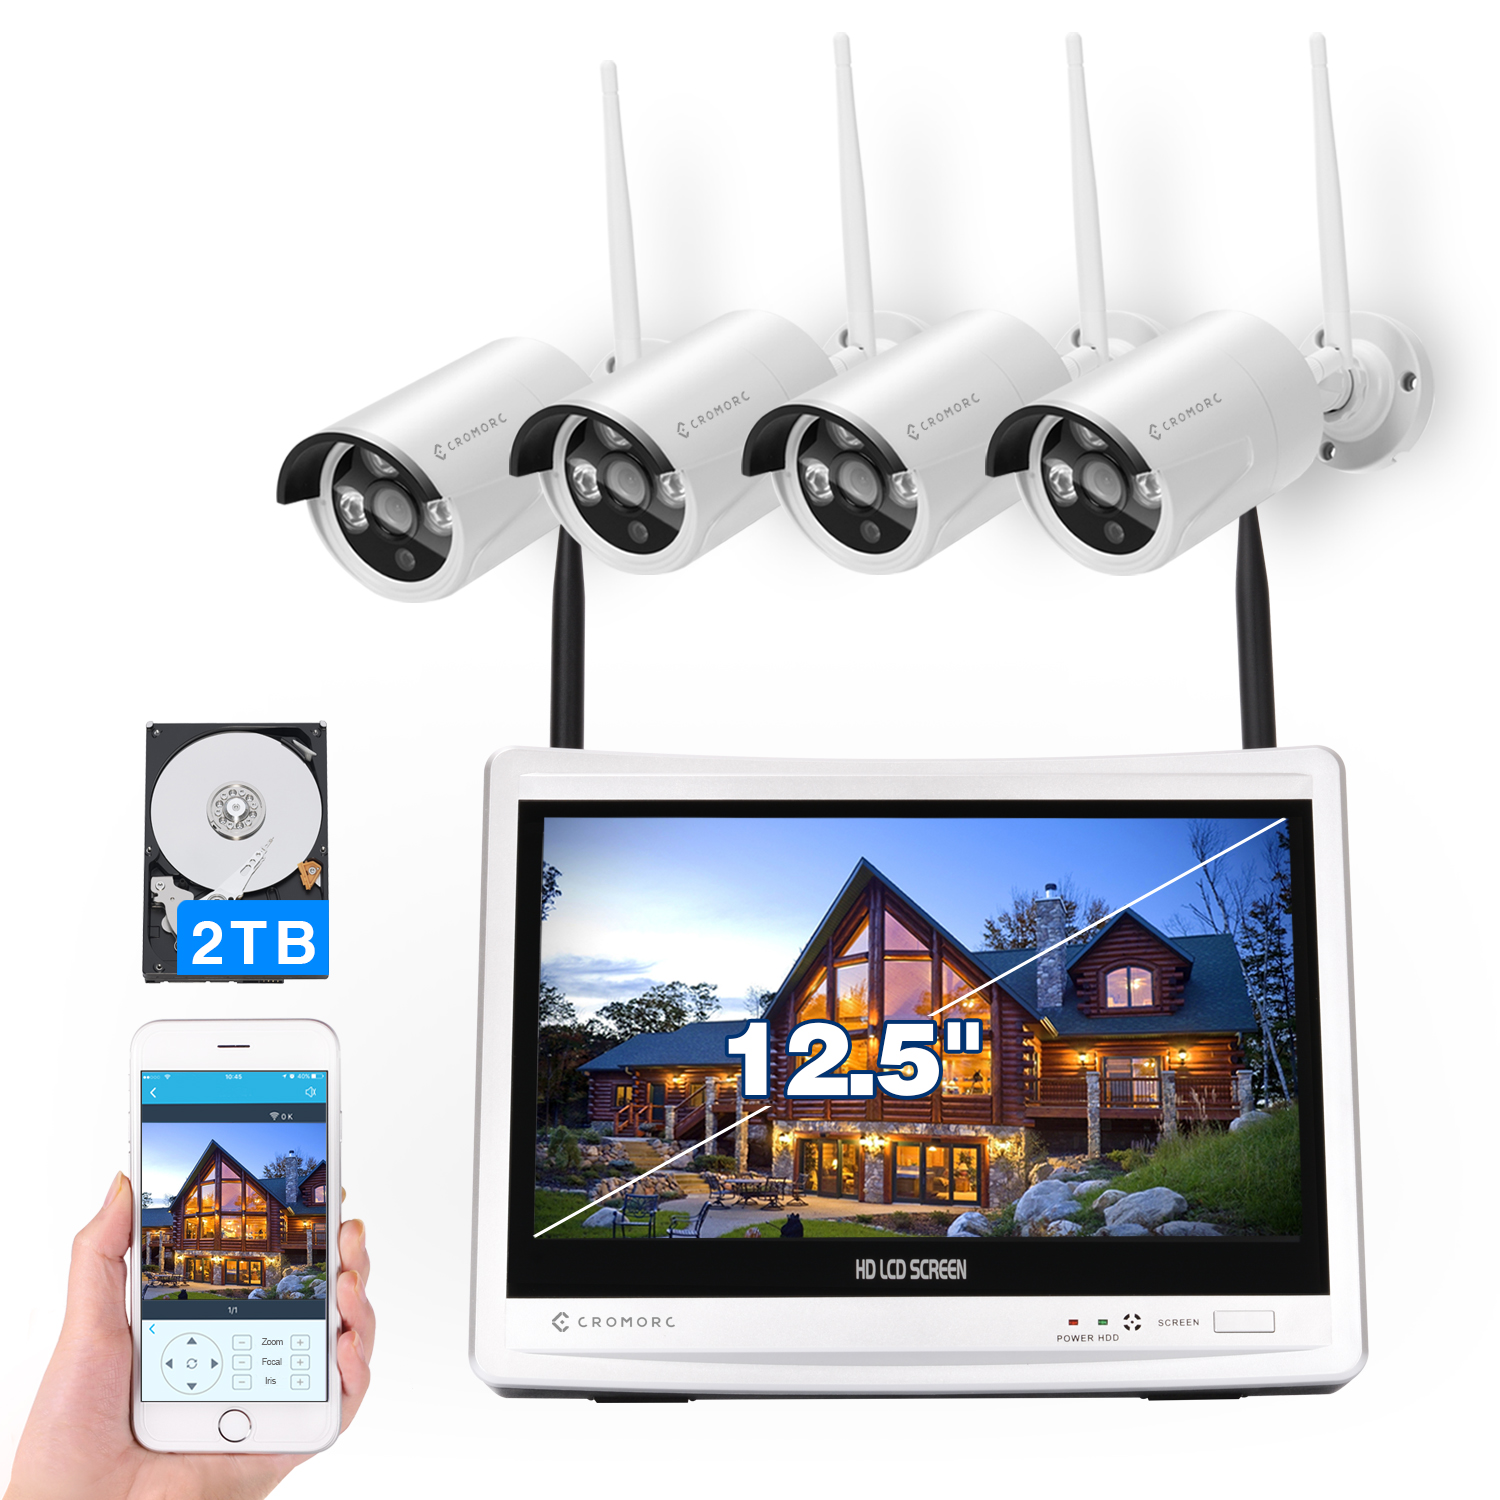 Wireless Security Camera System 12.5" Monitor,Home Business Surveillance Expandable 10CH NVR,4pcs 5MP Outdoor Indoor Night Vision 1-Way Audio Camera,Human Detection 3TB HDD