21. How to set E-mail Alarm Push?
NOTE: Make sure your NVR is connected to internet for E-mail alarm push.
Step A
Right click mouse on the screen and left click System Setup on the Menu Bar, enter the System Setup interface.
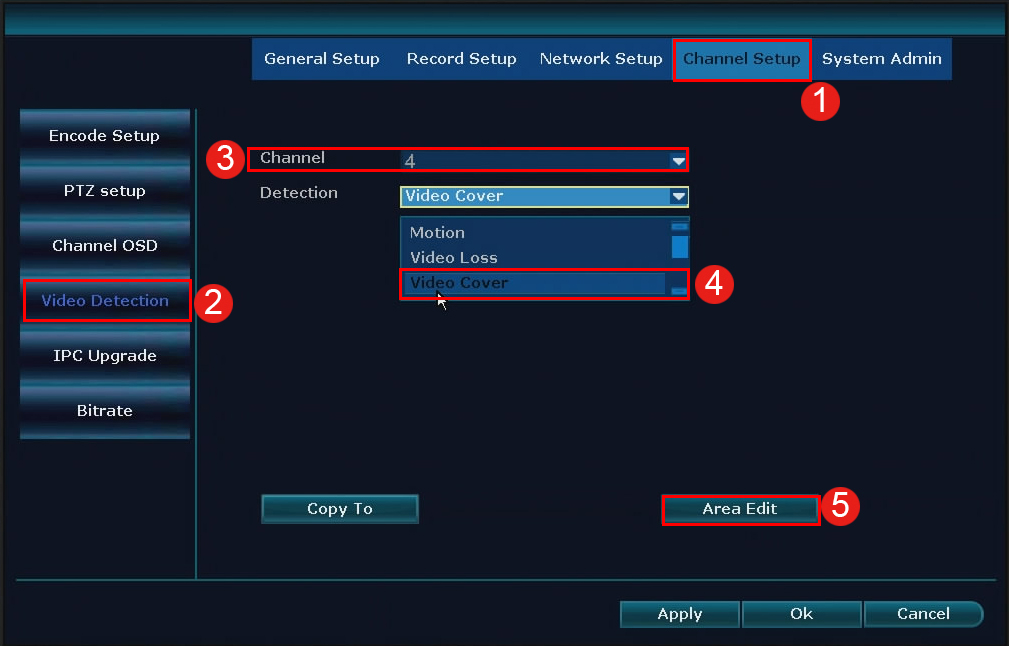
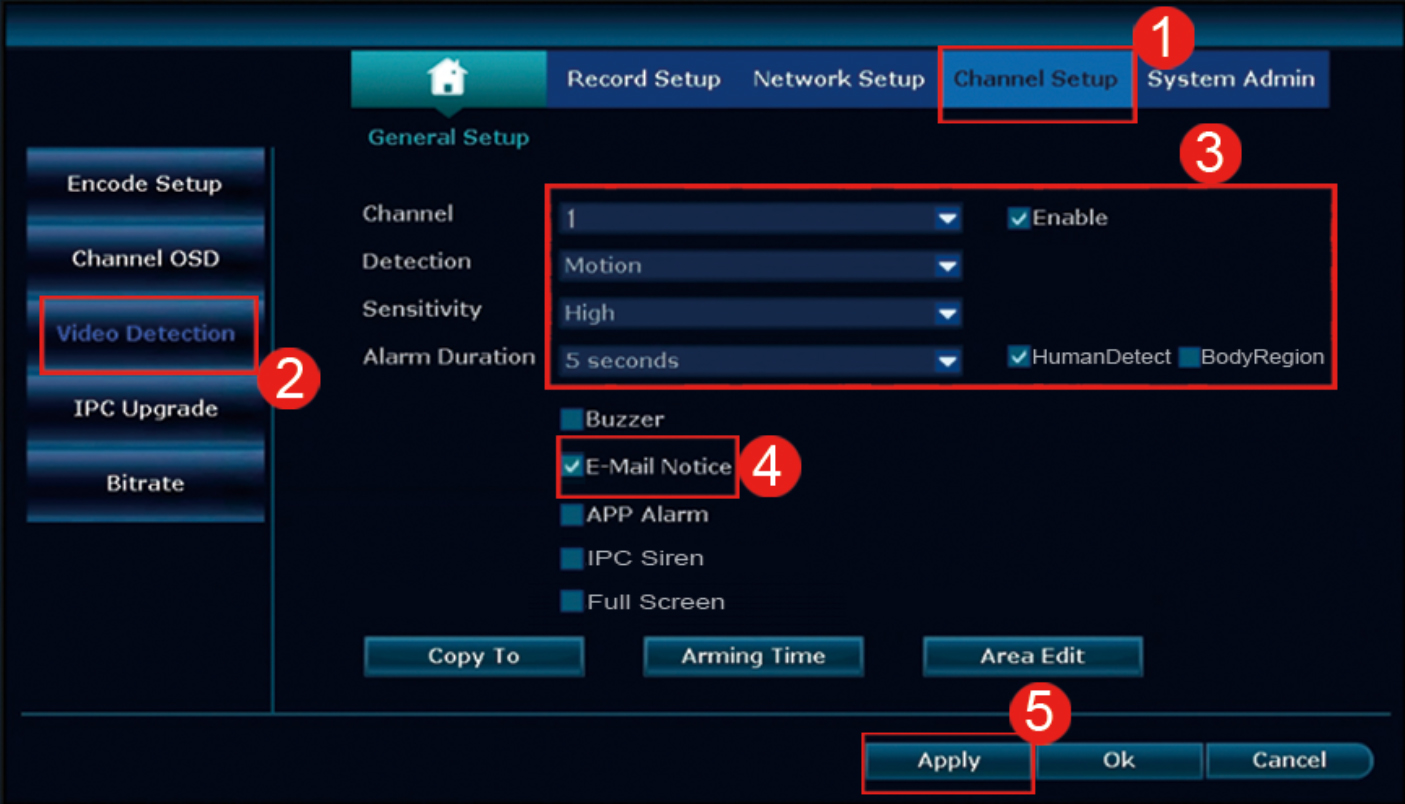
①. Channel Setup
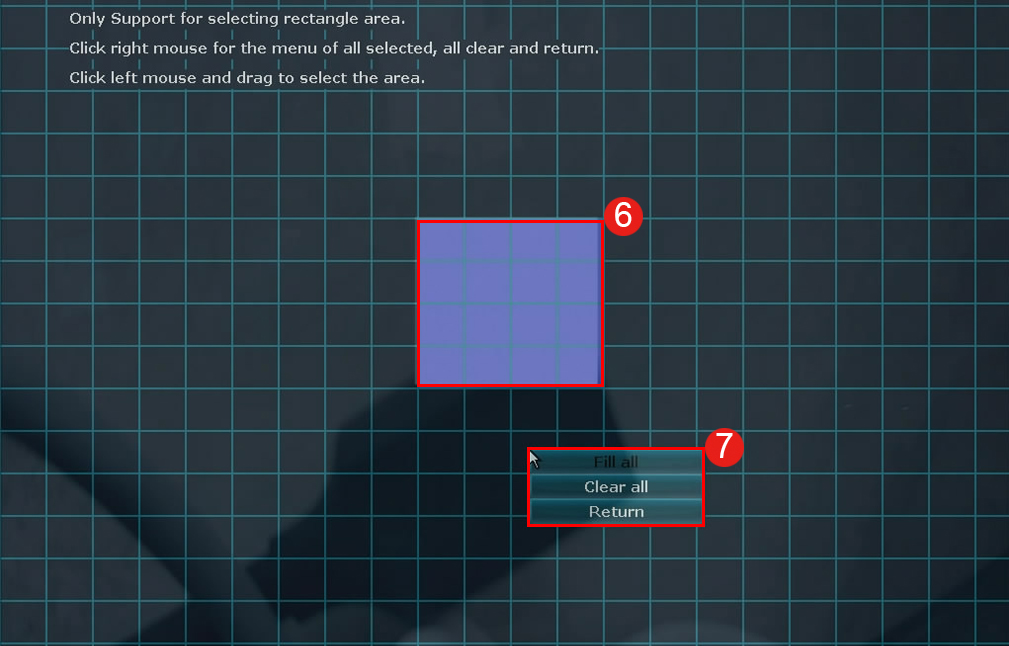
②. Video Detection
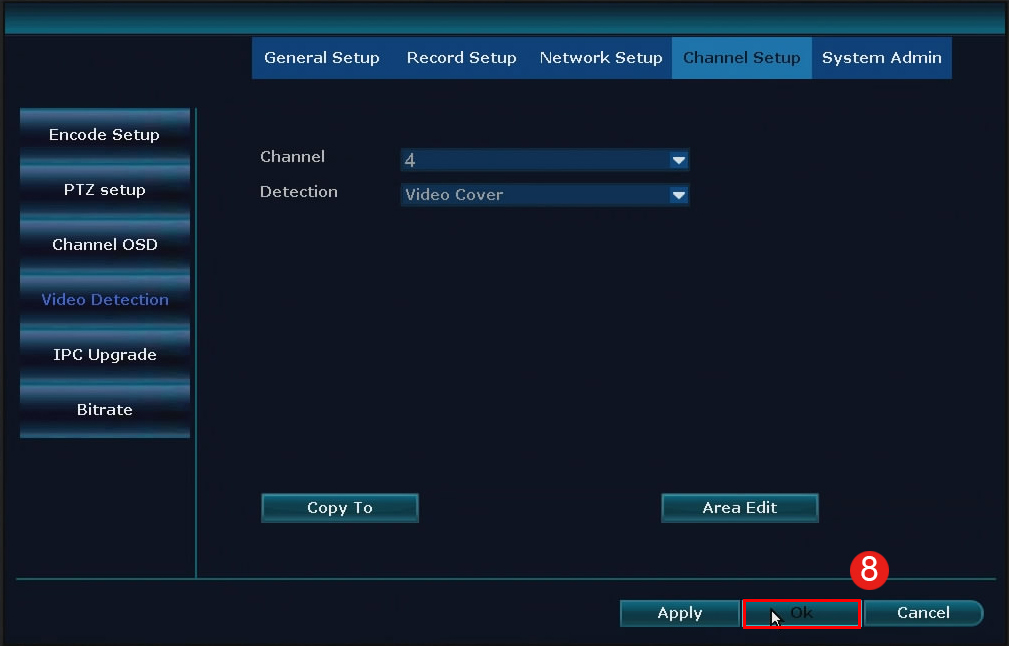
③. Set the channel and Check the Enable
④. Check the E-Mail Notice
⑤. Apply
Step B: (Take Hotmail and Gmail as examples)
1. Take Hotmail Settings for example
E-Mail settings
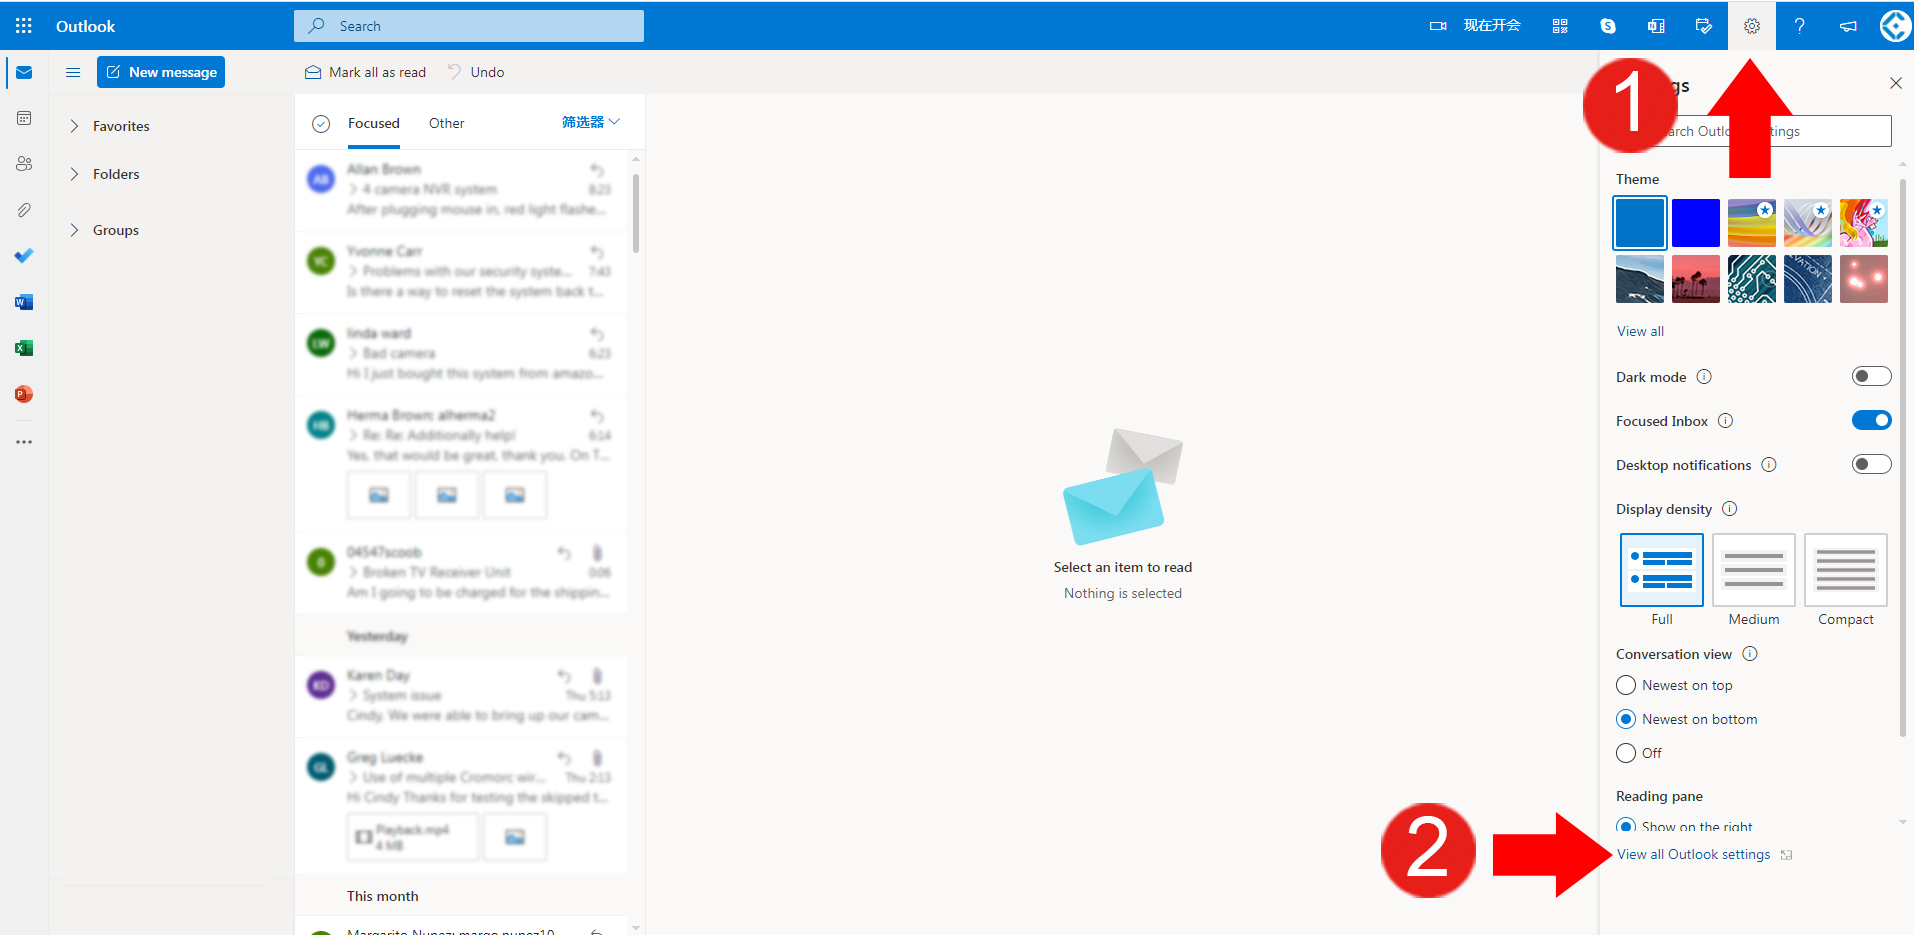
①. Login to your Hotmail, left click the Settings icon.
②. Left click View all Outlook settings.
③. Left click Mail.
④. Left click Sync email.
⑤. Select Yes on "Let devices and apps use POP".
⑥. Find the Smtp setting and fill in the relevant content into the NVR settings

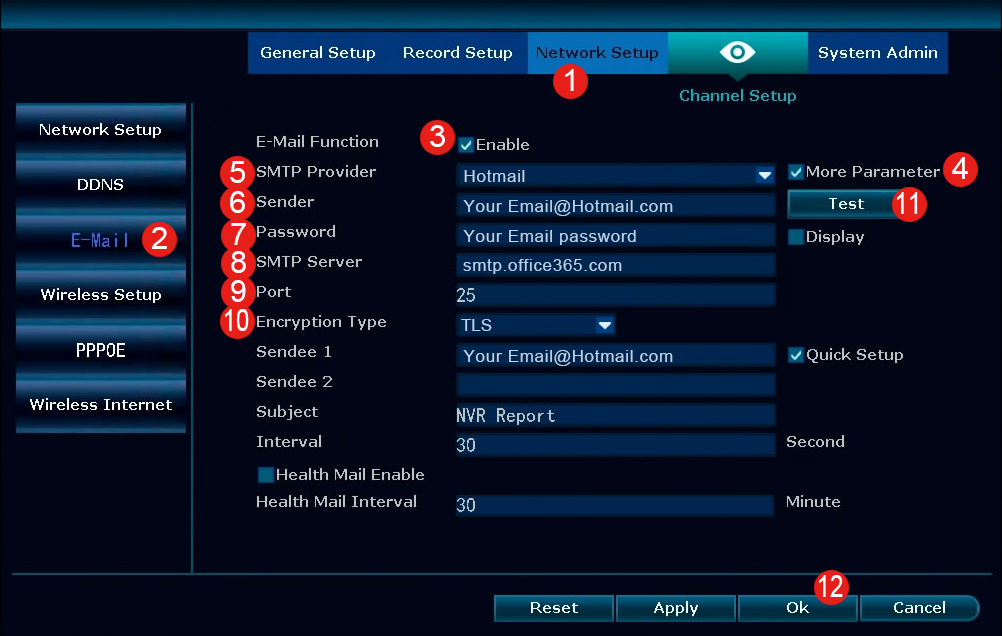
NVR Settings:
①. Network Setup
②. E-Mail
③. Check the Enable box for E-mail Function
④. Check the More Parameter
⑤. Select your email provider : Hotmail
⑥. Sender: Your Hotmail
⑦. Password: Your Hotmail password
⑧. SMTP: smtp.office365.com
⑨. Port: 25 or 587
⑩. Encryption Type: TLS
⑪. Test: Left click Test button (If the settings are correct, it will prompt "Test success")
⑫. Ok: Complete the Email alert push setup
2. Take Gmail settings for example:
If you need to use Gmail on the NVR, you need to enable two-step verification on your Google Account, and then get a 16 characters password authorized by Google.
E-Mail settings
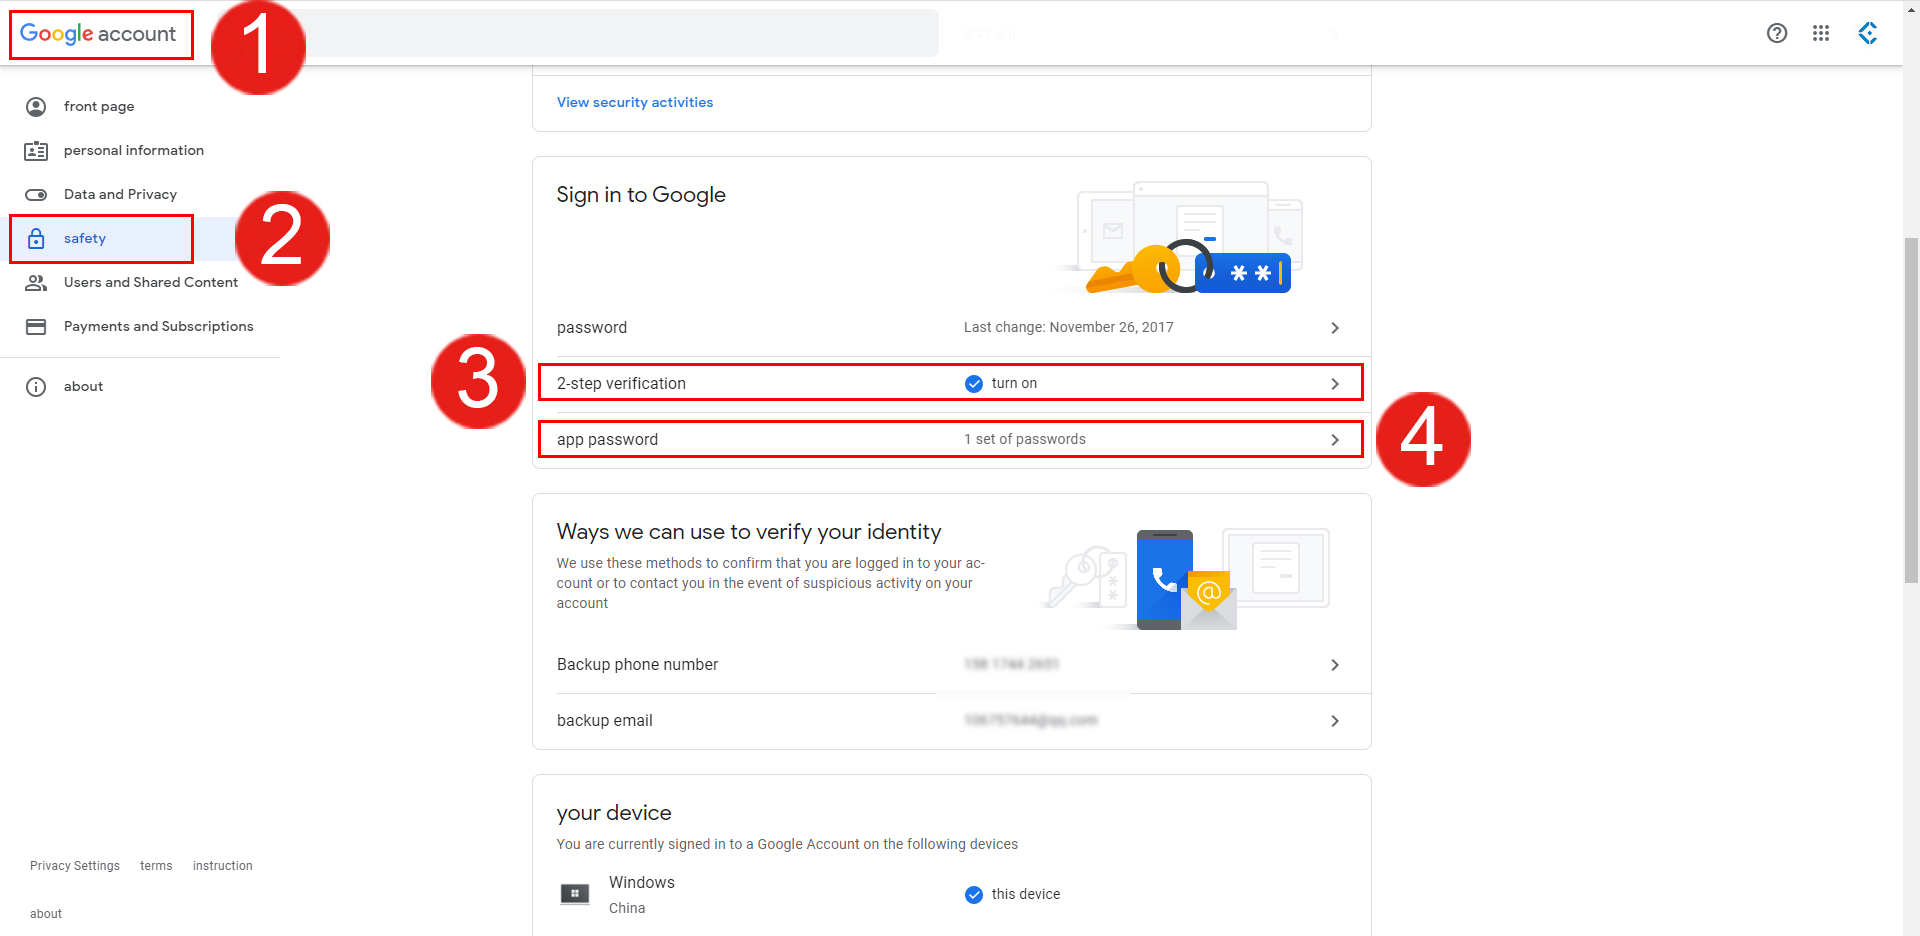
①. Login to your Google account: https://myaccount.google.com/
②. Left click safety.
③. Turn on two-step verification, follow the prompts to enter your mobile phone number, and then your mobile phone will receive an SMS verification code.
④. Create an application-specific password.
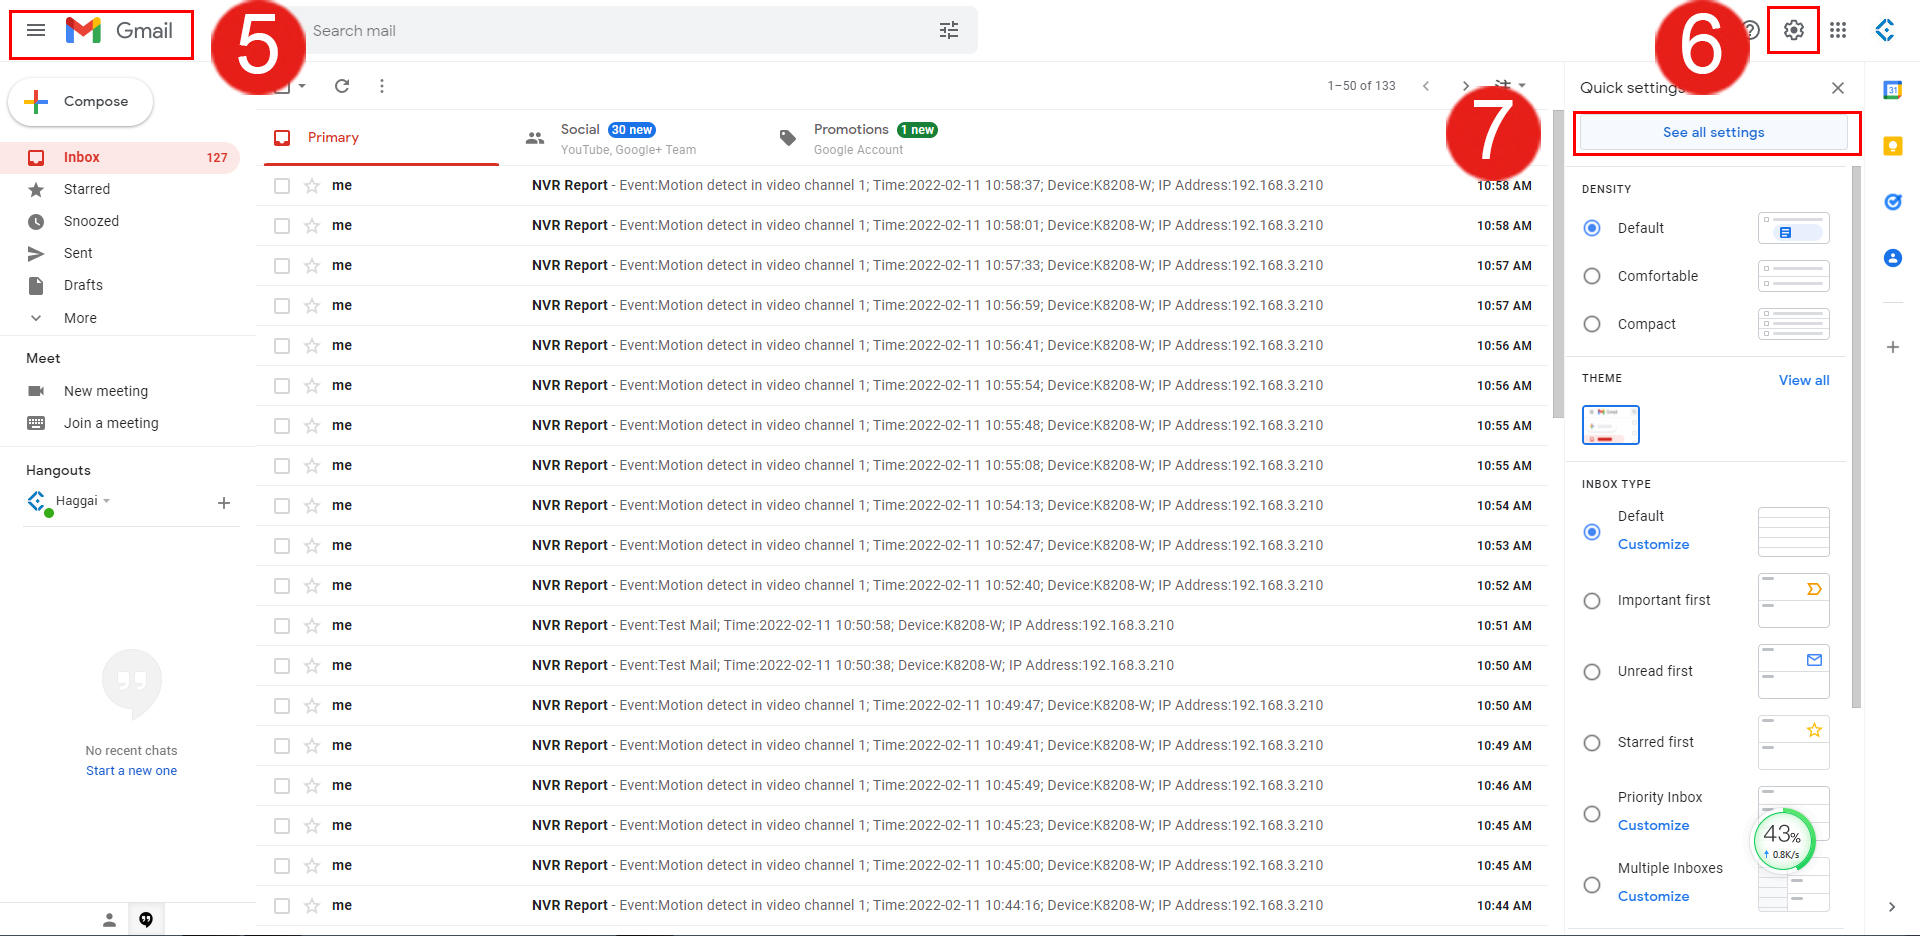
⑤. Login to your Gmail: https://mail.google.com/
⑥. Left click Settings icon.
⑦. Left click See all settings.
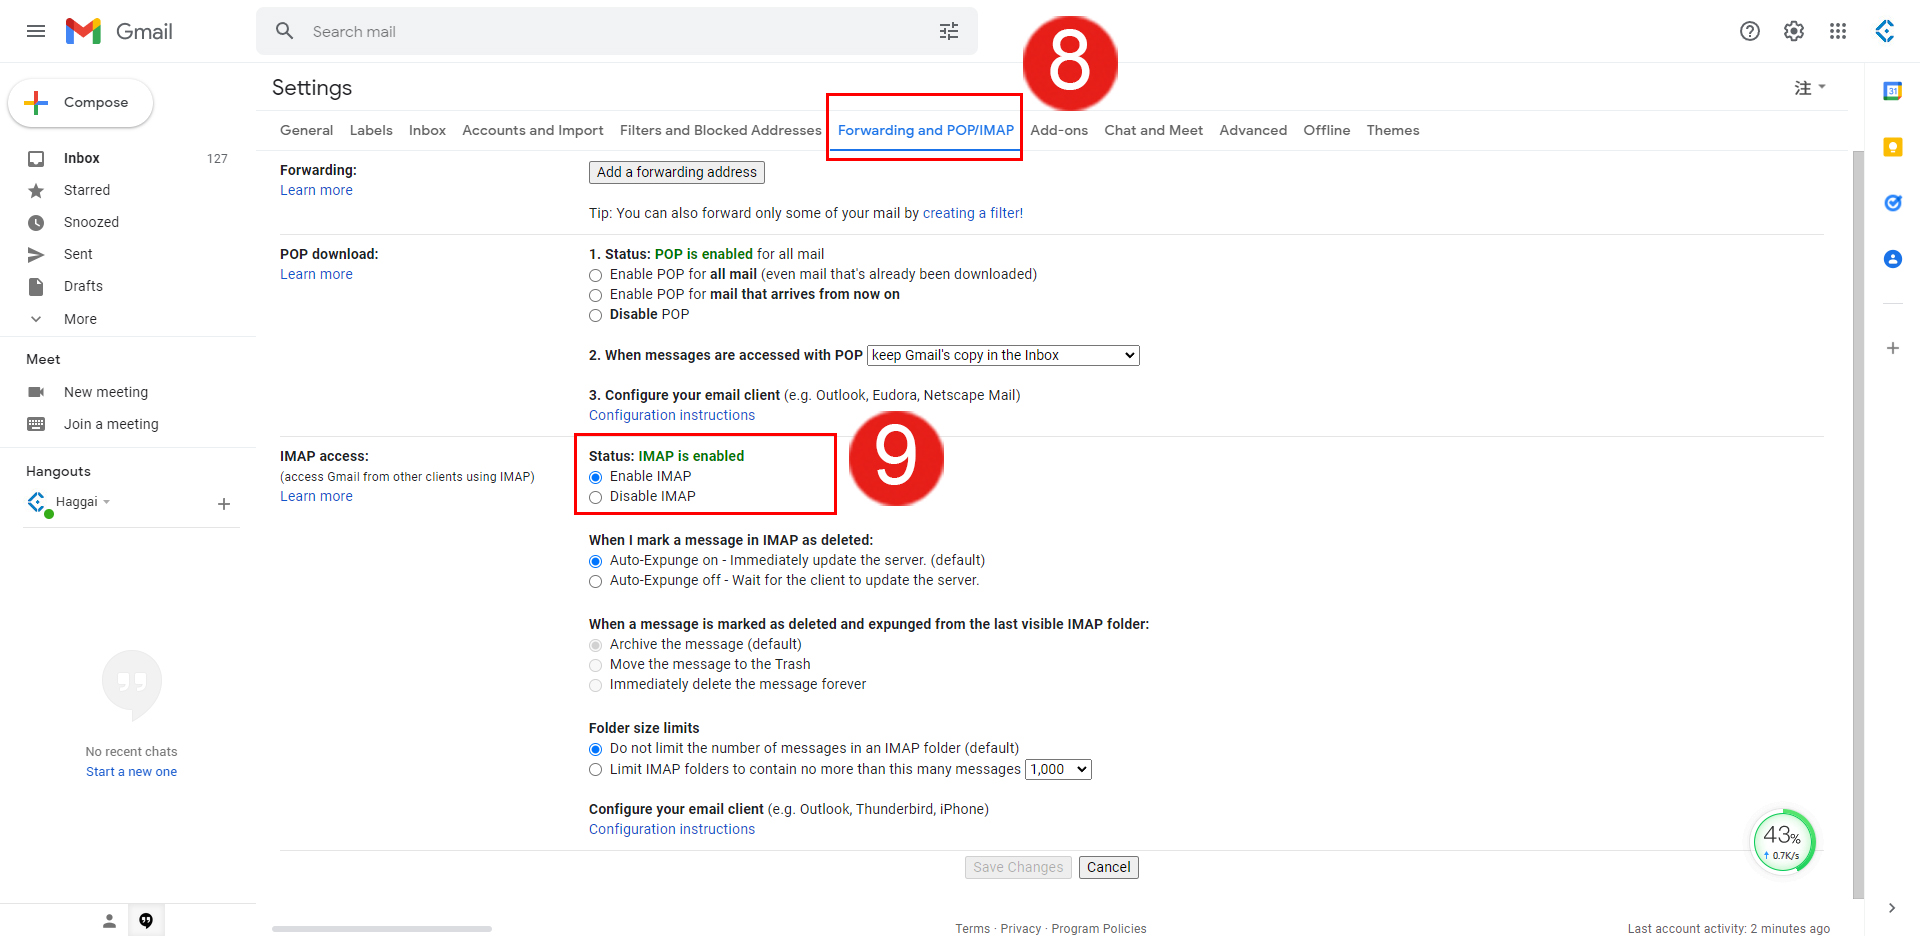
⑧. Left click Forwarding and POP/IMAP.
⑨. Select Enable IMAP.
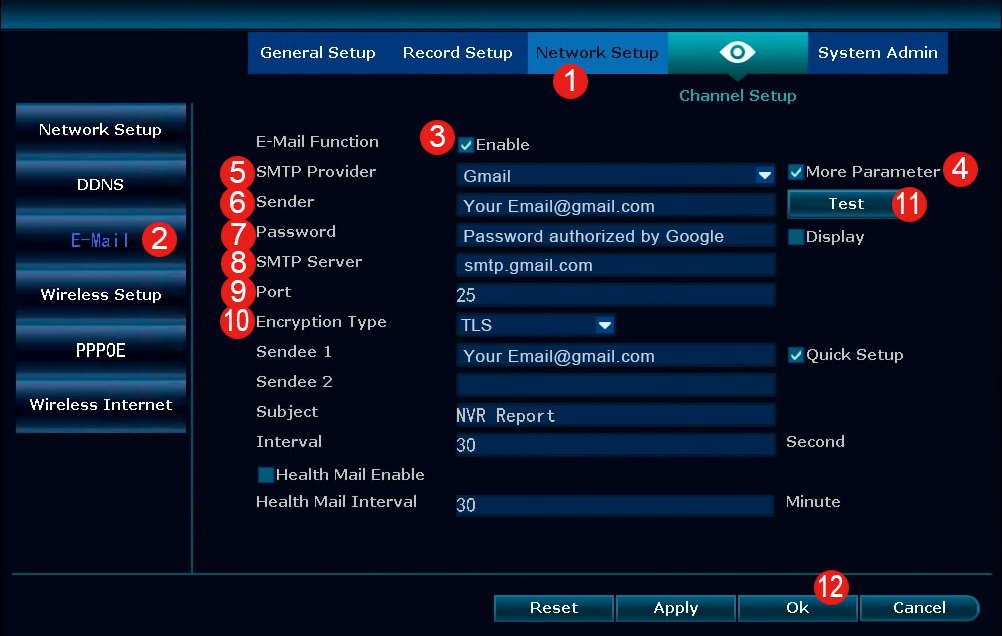
NVR Settings:
①. Network Setup
②. E-Mail
③. Check the Enable box for E-mail Function
④. Check the More Parameter
⑤. Select your email provider : Gmail
⑥. Sender: Your Gmail
⑦. Password: 16 characters Password authorized by Google (not your email password)
⑧. SMTP: smtp.gmail.com
⑨. Port: 25
⑩. Encryption Type: TLS
⑪. Test: Left click Test button (If the settings are correct, it will prompt "Test success")
⑫. Ok: Complete the Email alert push setup

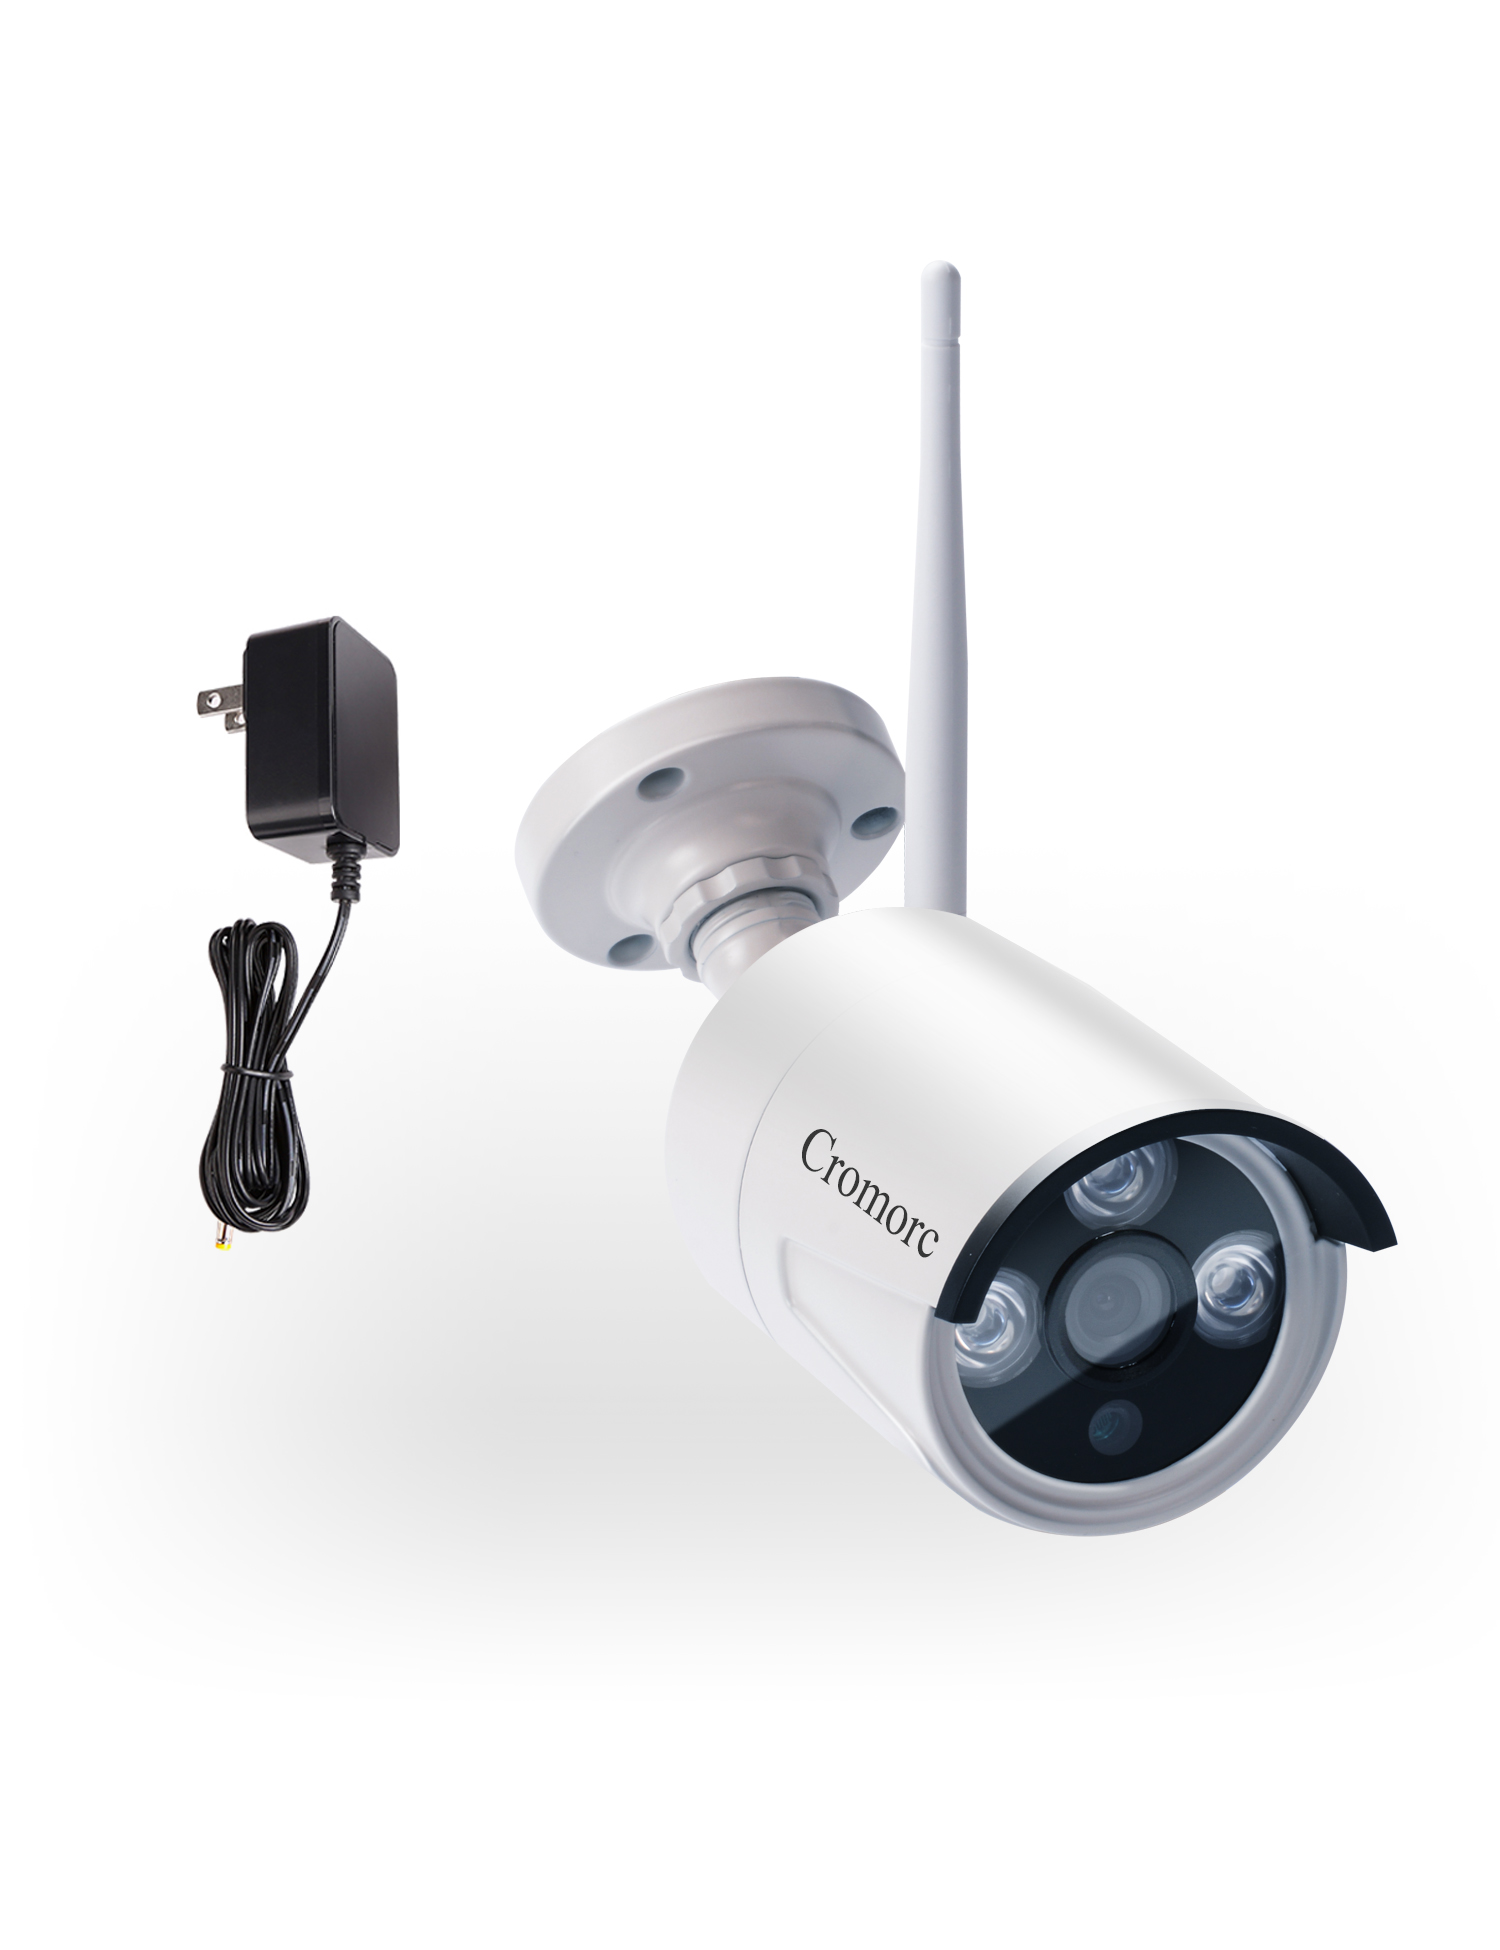
![[8CH,Expandable] All in one with 10.1](/uploads/image/3E2-2-01.jpg) [8CH,Expandable] All in one with 10.1" Monitor Wireless Security Camera System, Cromorc Home Business CCTV Surveillance 1080P NVR, 4pcs 3MP Indoor Outdoor Night Vision One-Way Audio Camera,1TB HDD
[8CH,Expandable] All in one with 10.1" Monitor Wireless Security Camera System, Cromorc Home Business CCTV Surveillance 1080P NVR, 4pcs 3MP Indoor Outdoor Night Vision One-Way Audio Camera,1TB HDD
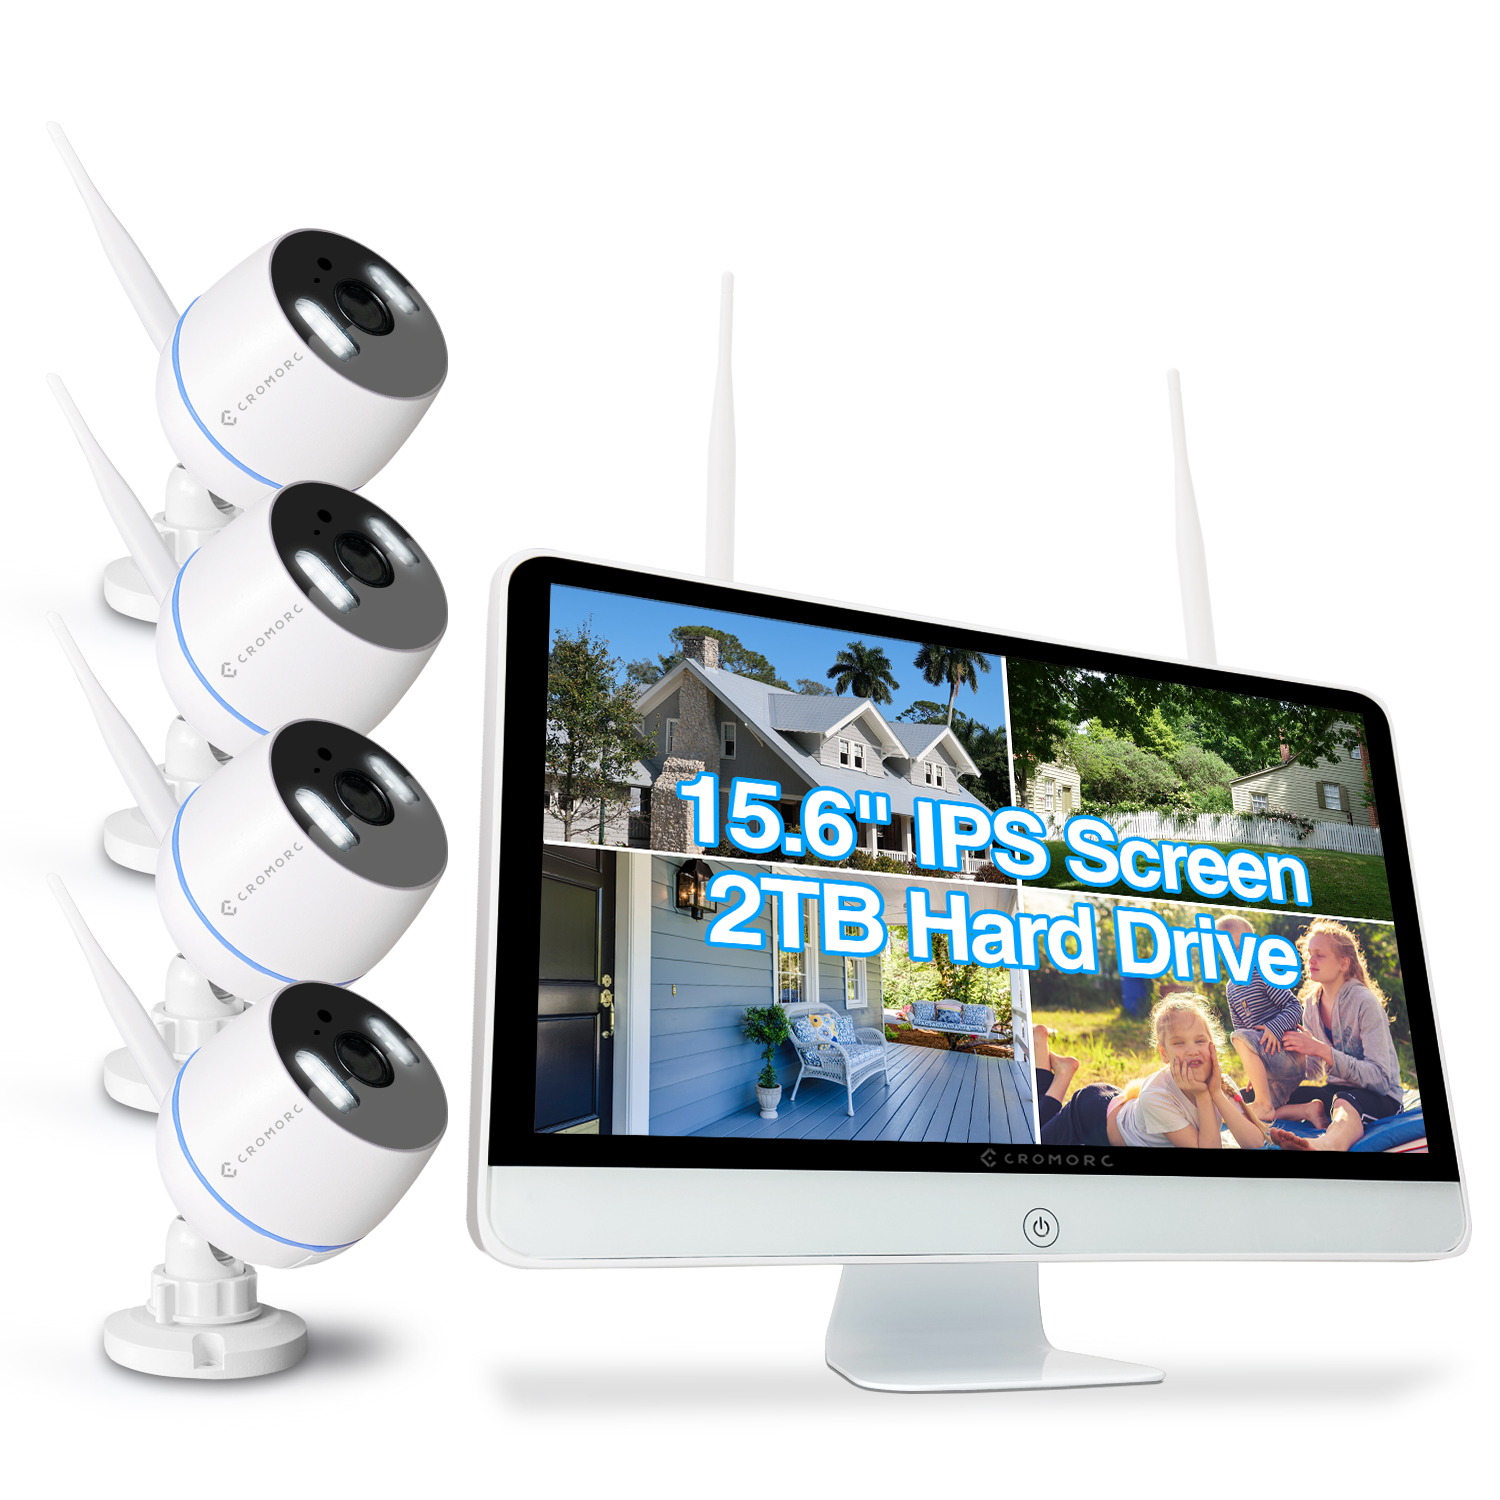 Cromorc All-in-one Wireless Security Camera System with 15.6" IPS Monitor, AI Human Detection, Floodlight,Siren Alarm, 2-Way Audio,4PCS 3MP Camera,Expandable 8CH NVR,Home Business Surveillance,2TB HDD
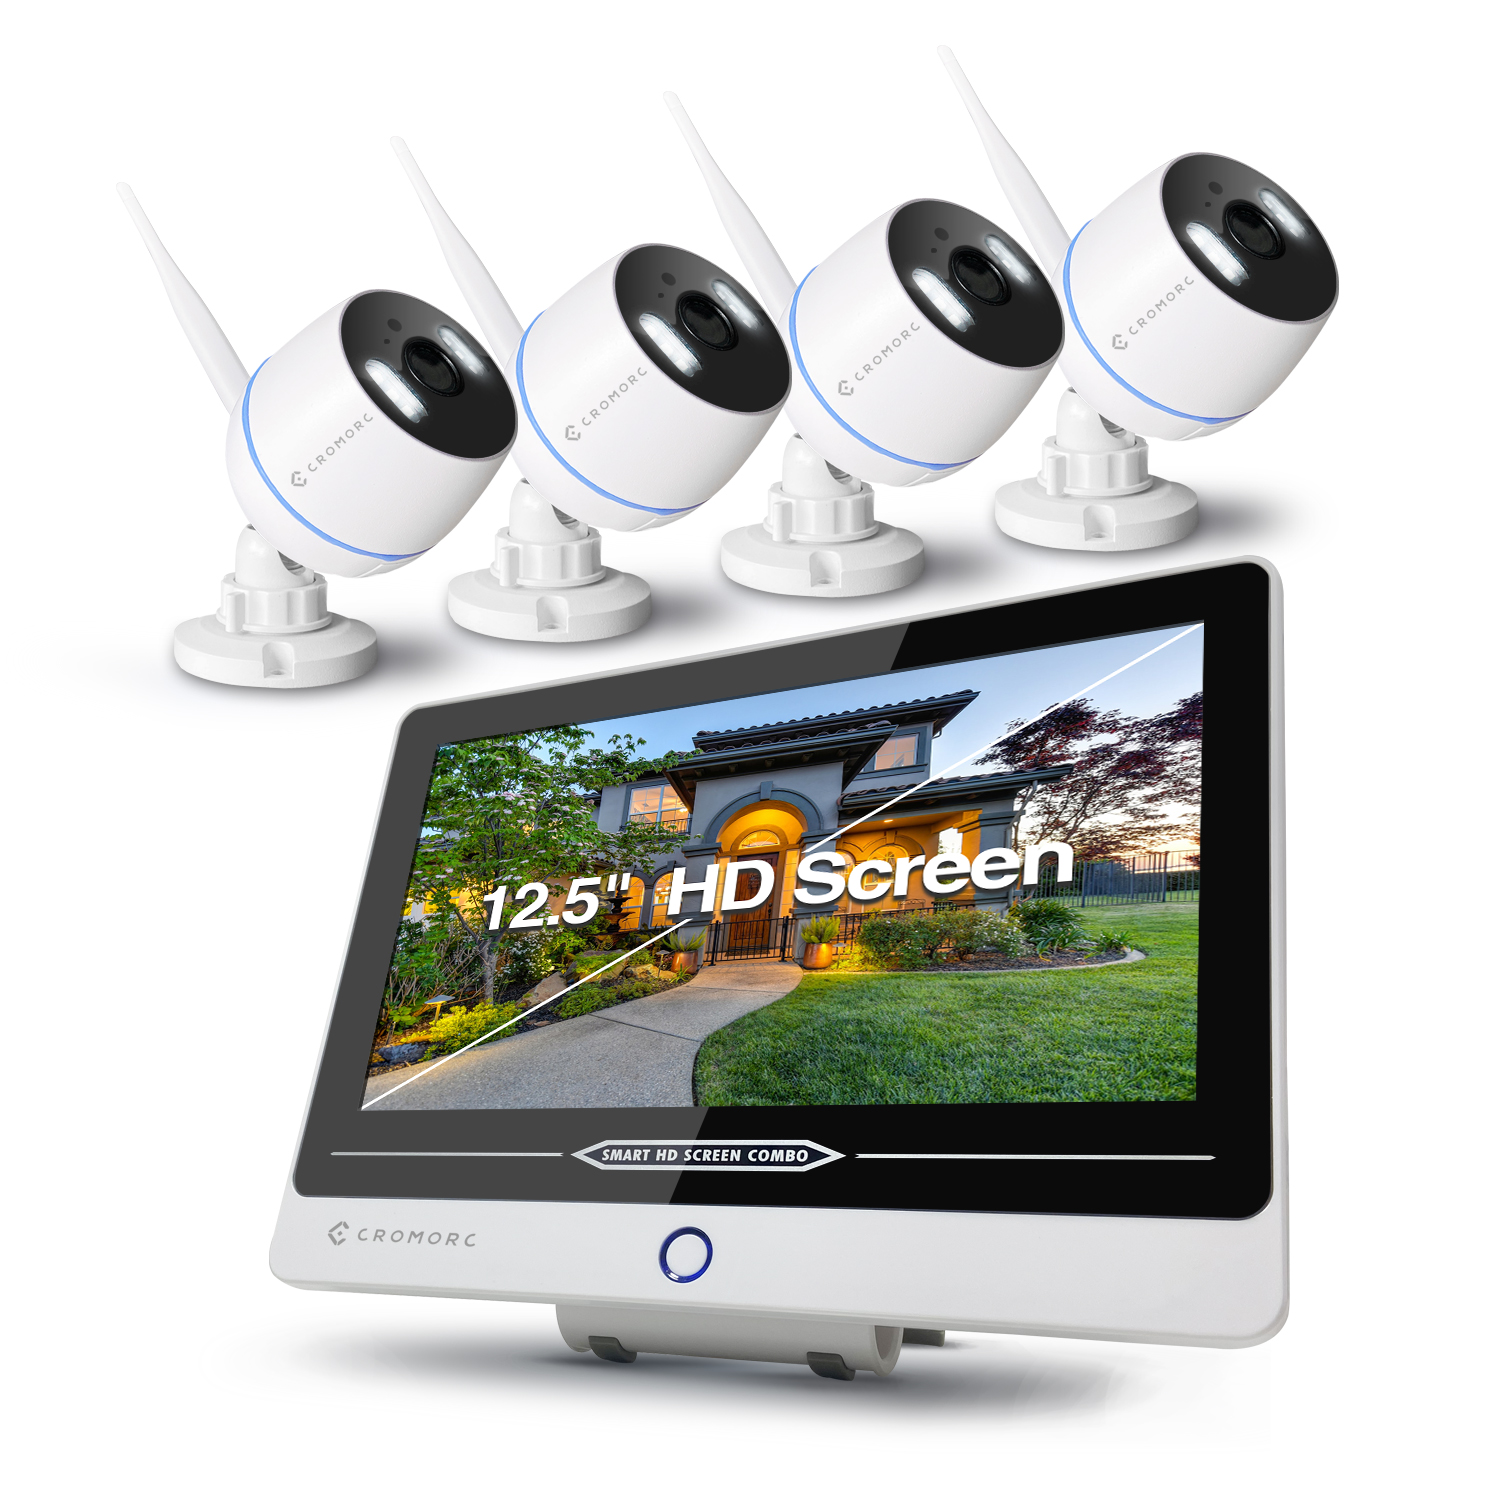 Cromroc All-in-one Wireless Security Camera System with 12" Monitor, AI Human Detection, Floodlight,Siren Alarm, 2-Way Audio, 4PCS 3MP Camera, Expandable 8CH NVR,Home Business Surveillance, 1TB HDD
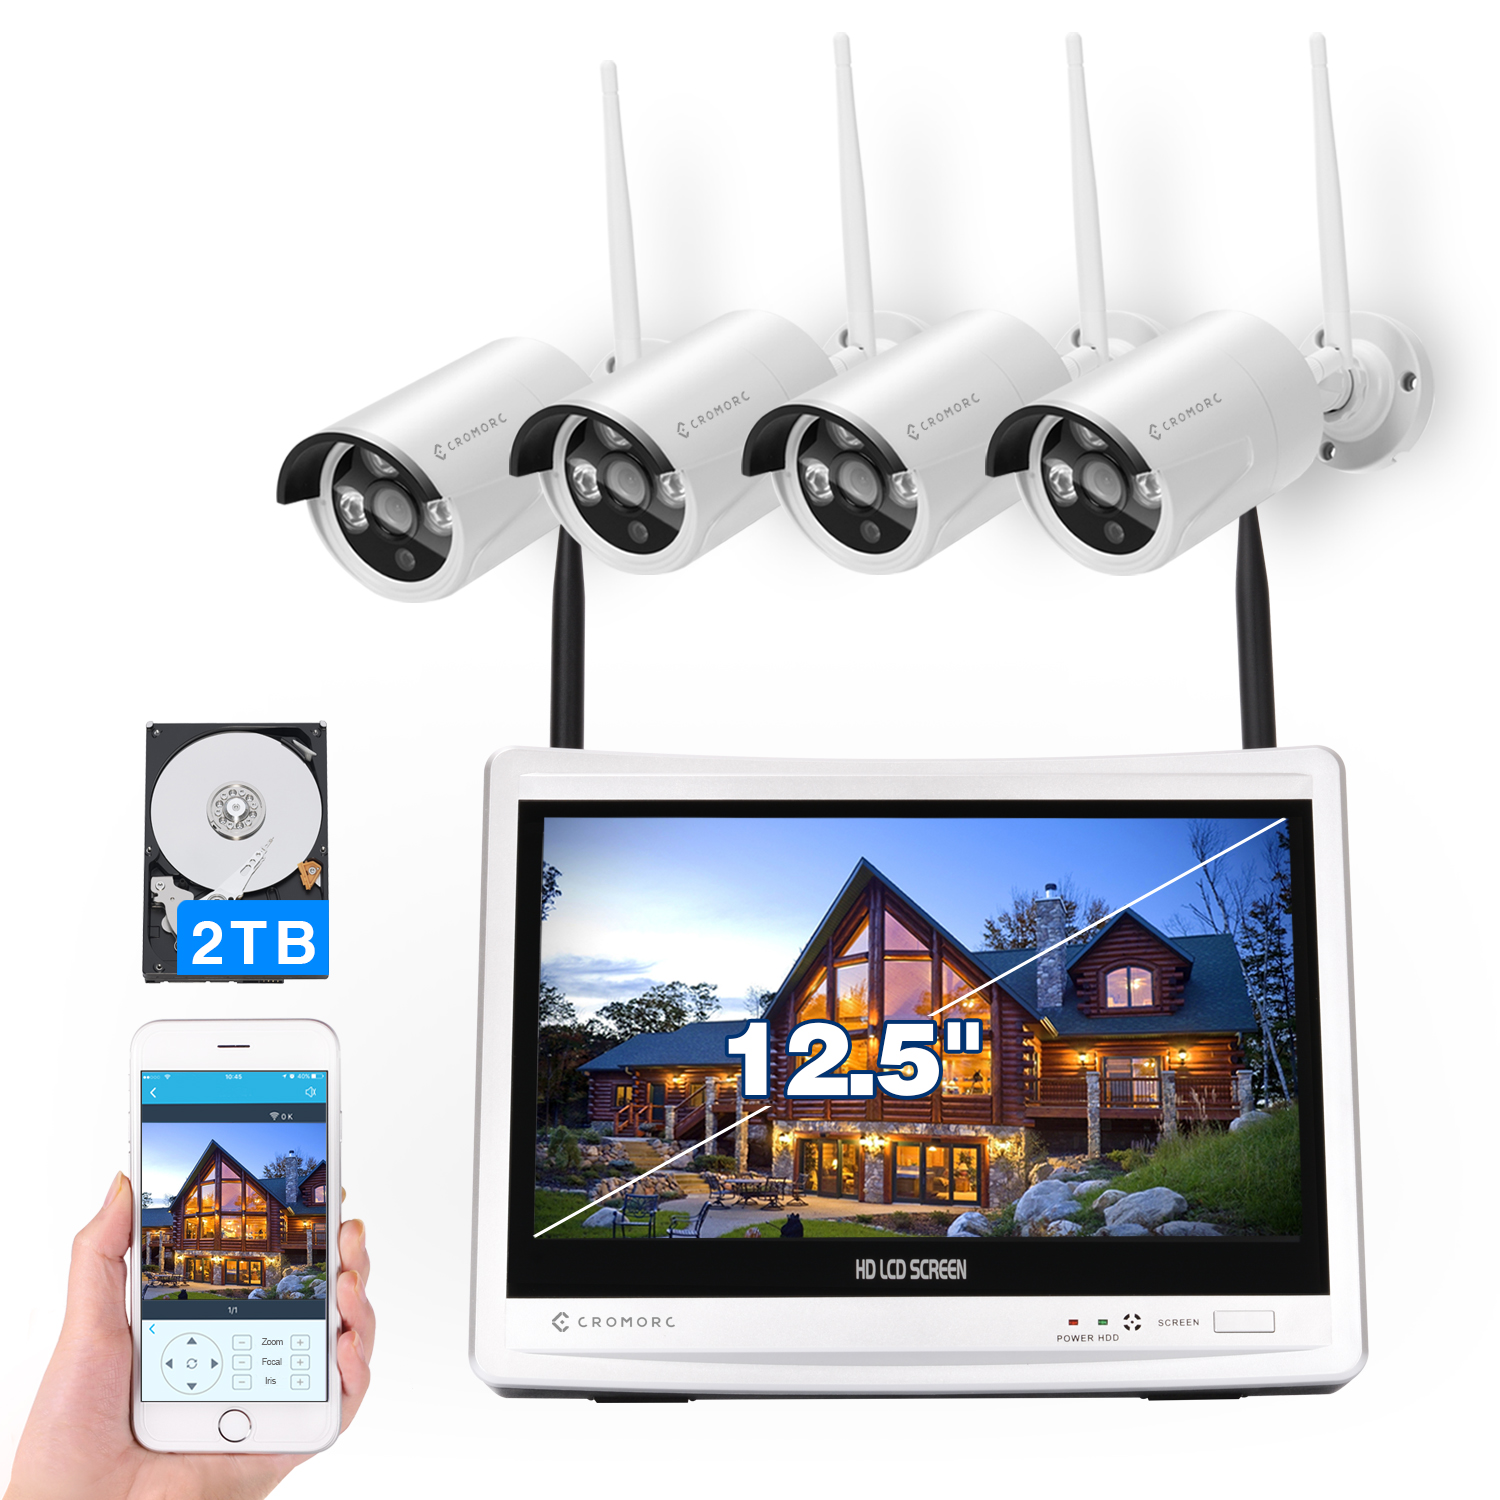 Wireless Security Camera System 12.5" Monitor,Home Business Surveillance Expandable 10CH NVR,4pcs 5MP Outdoor Indoor Night Vision 1-Way Audio Camera,Human Detection 3TB HDD